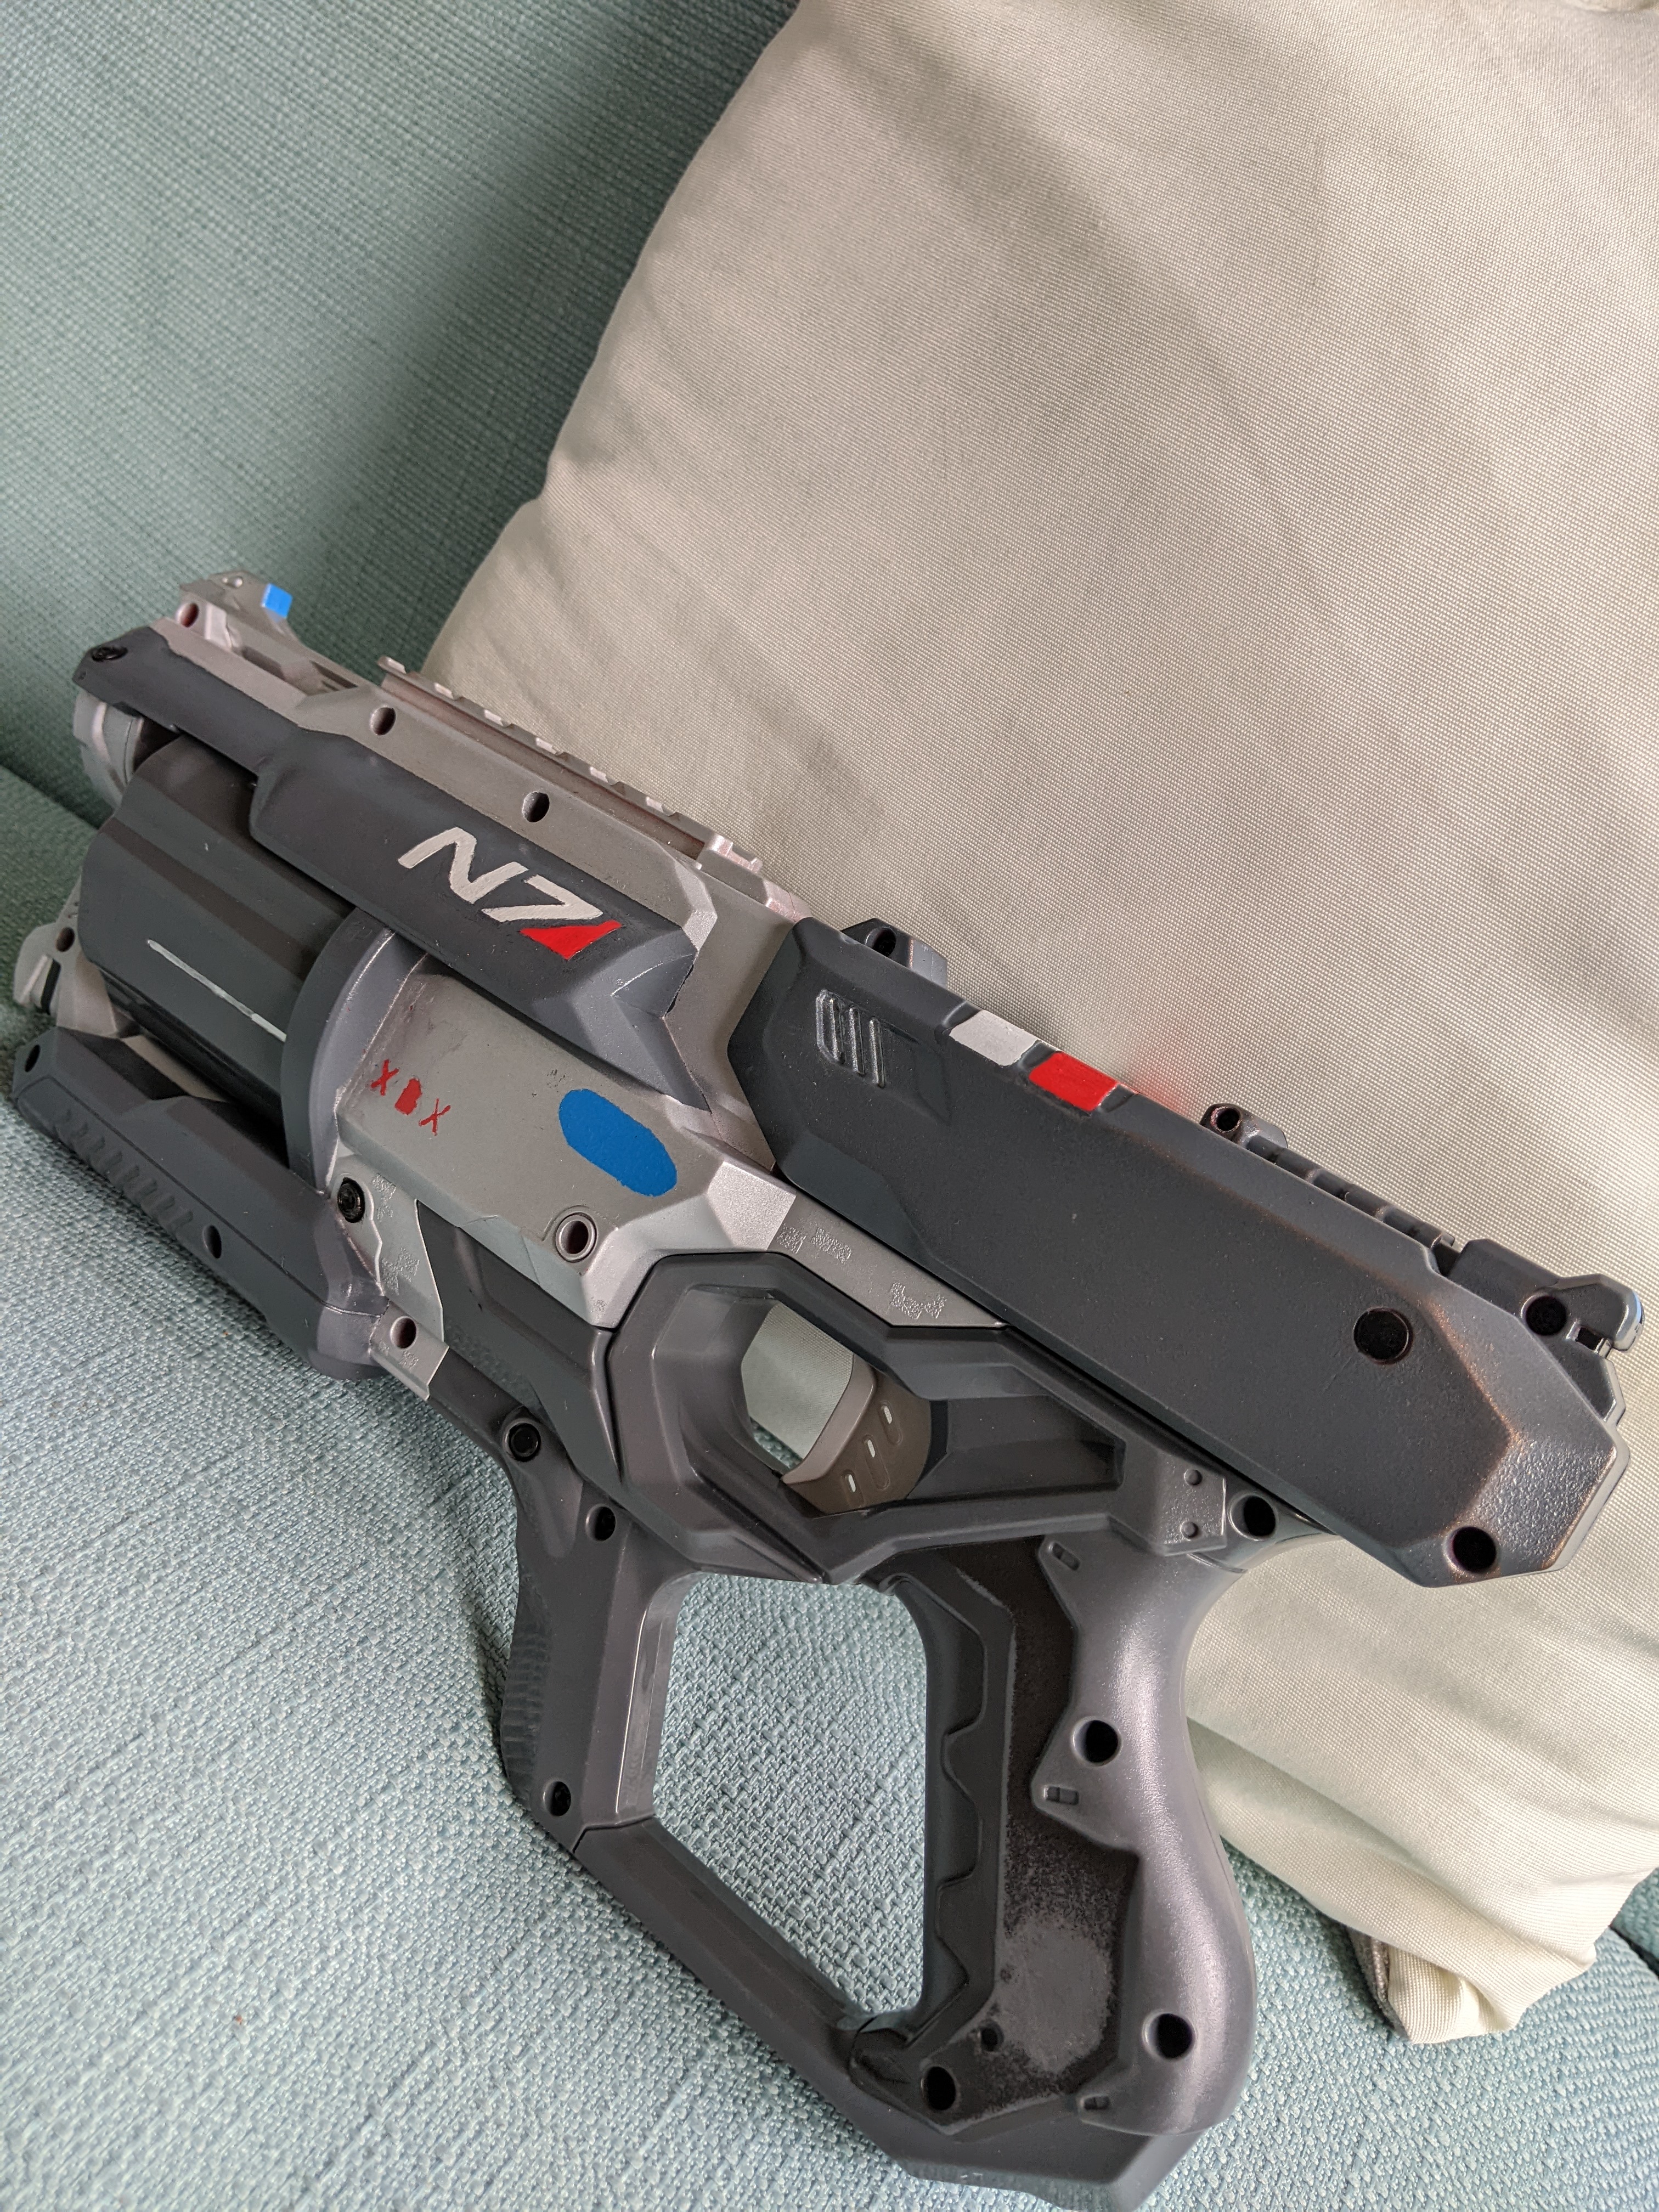
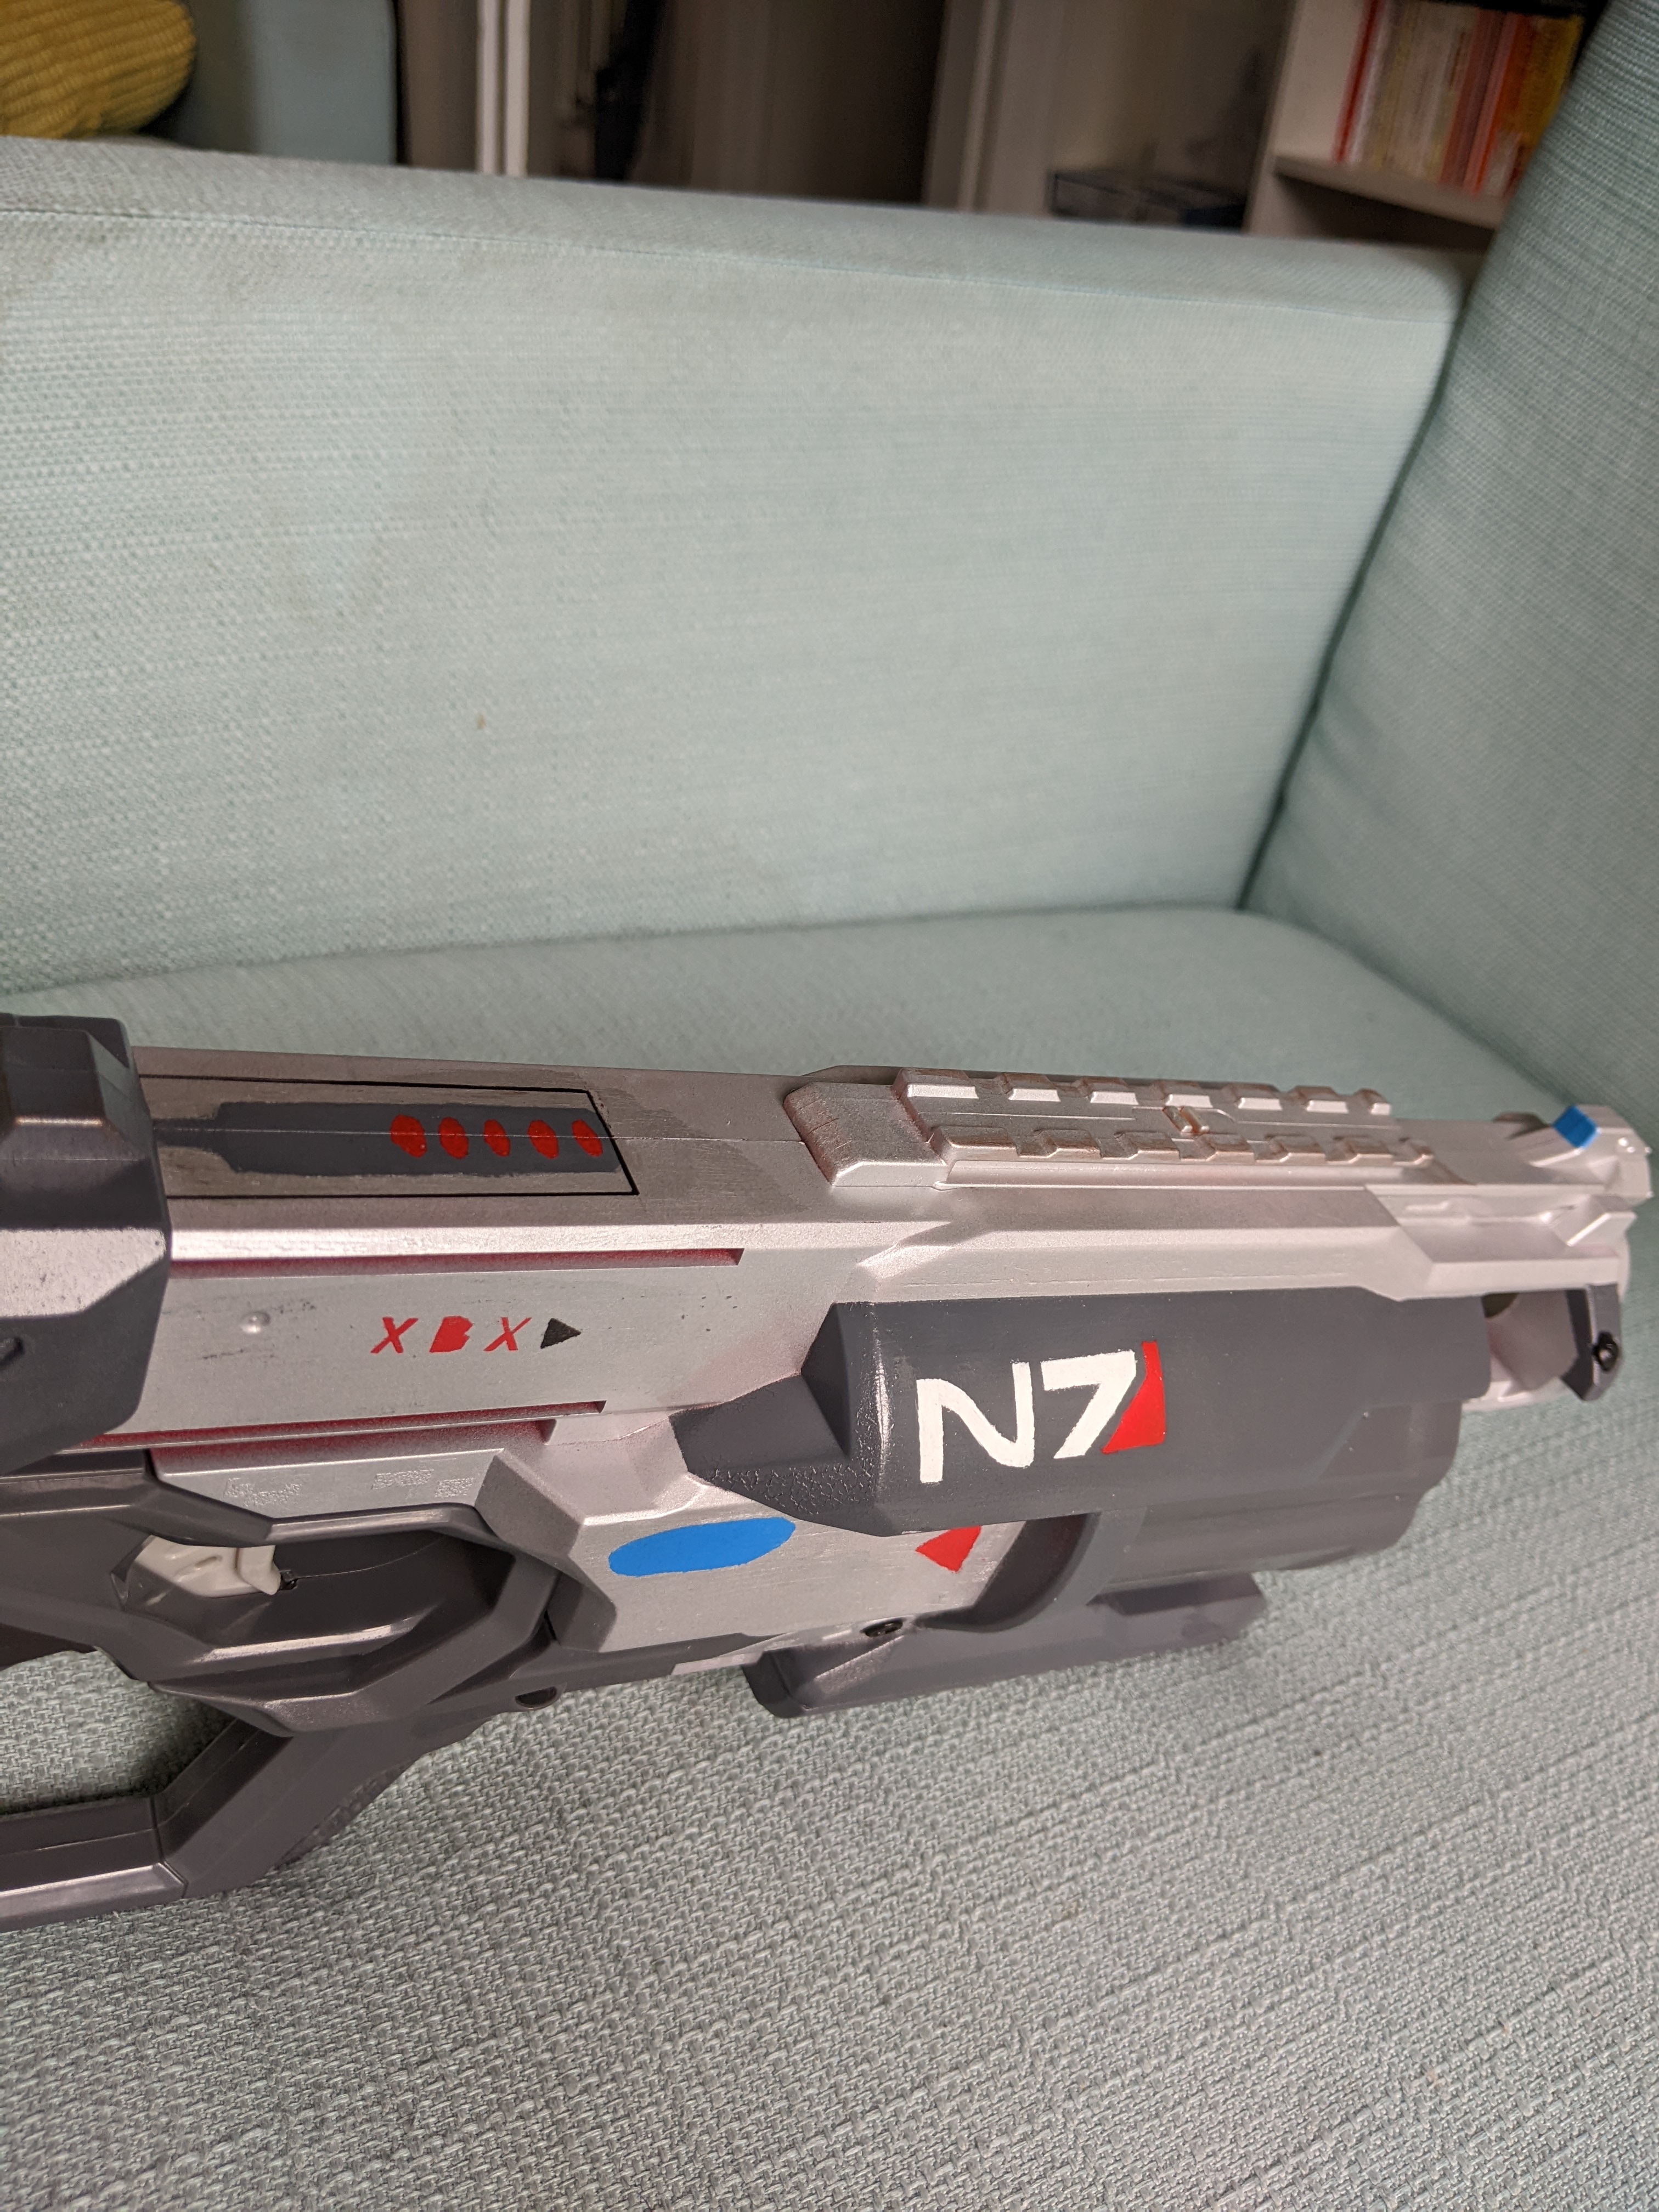
Mass Effect Heavy Pistol
Mass Effect Trilogy
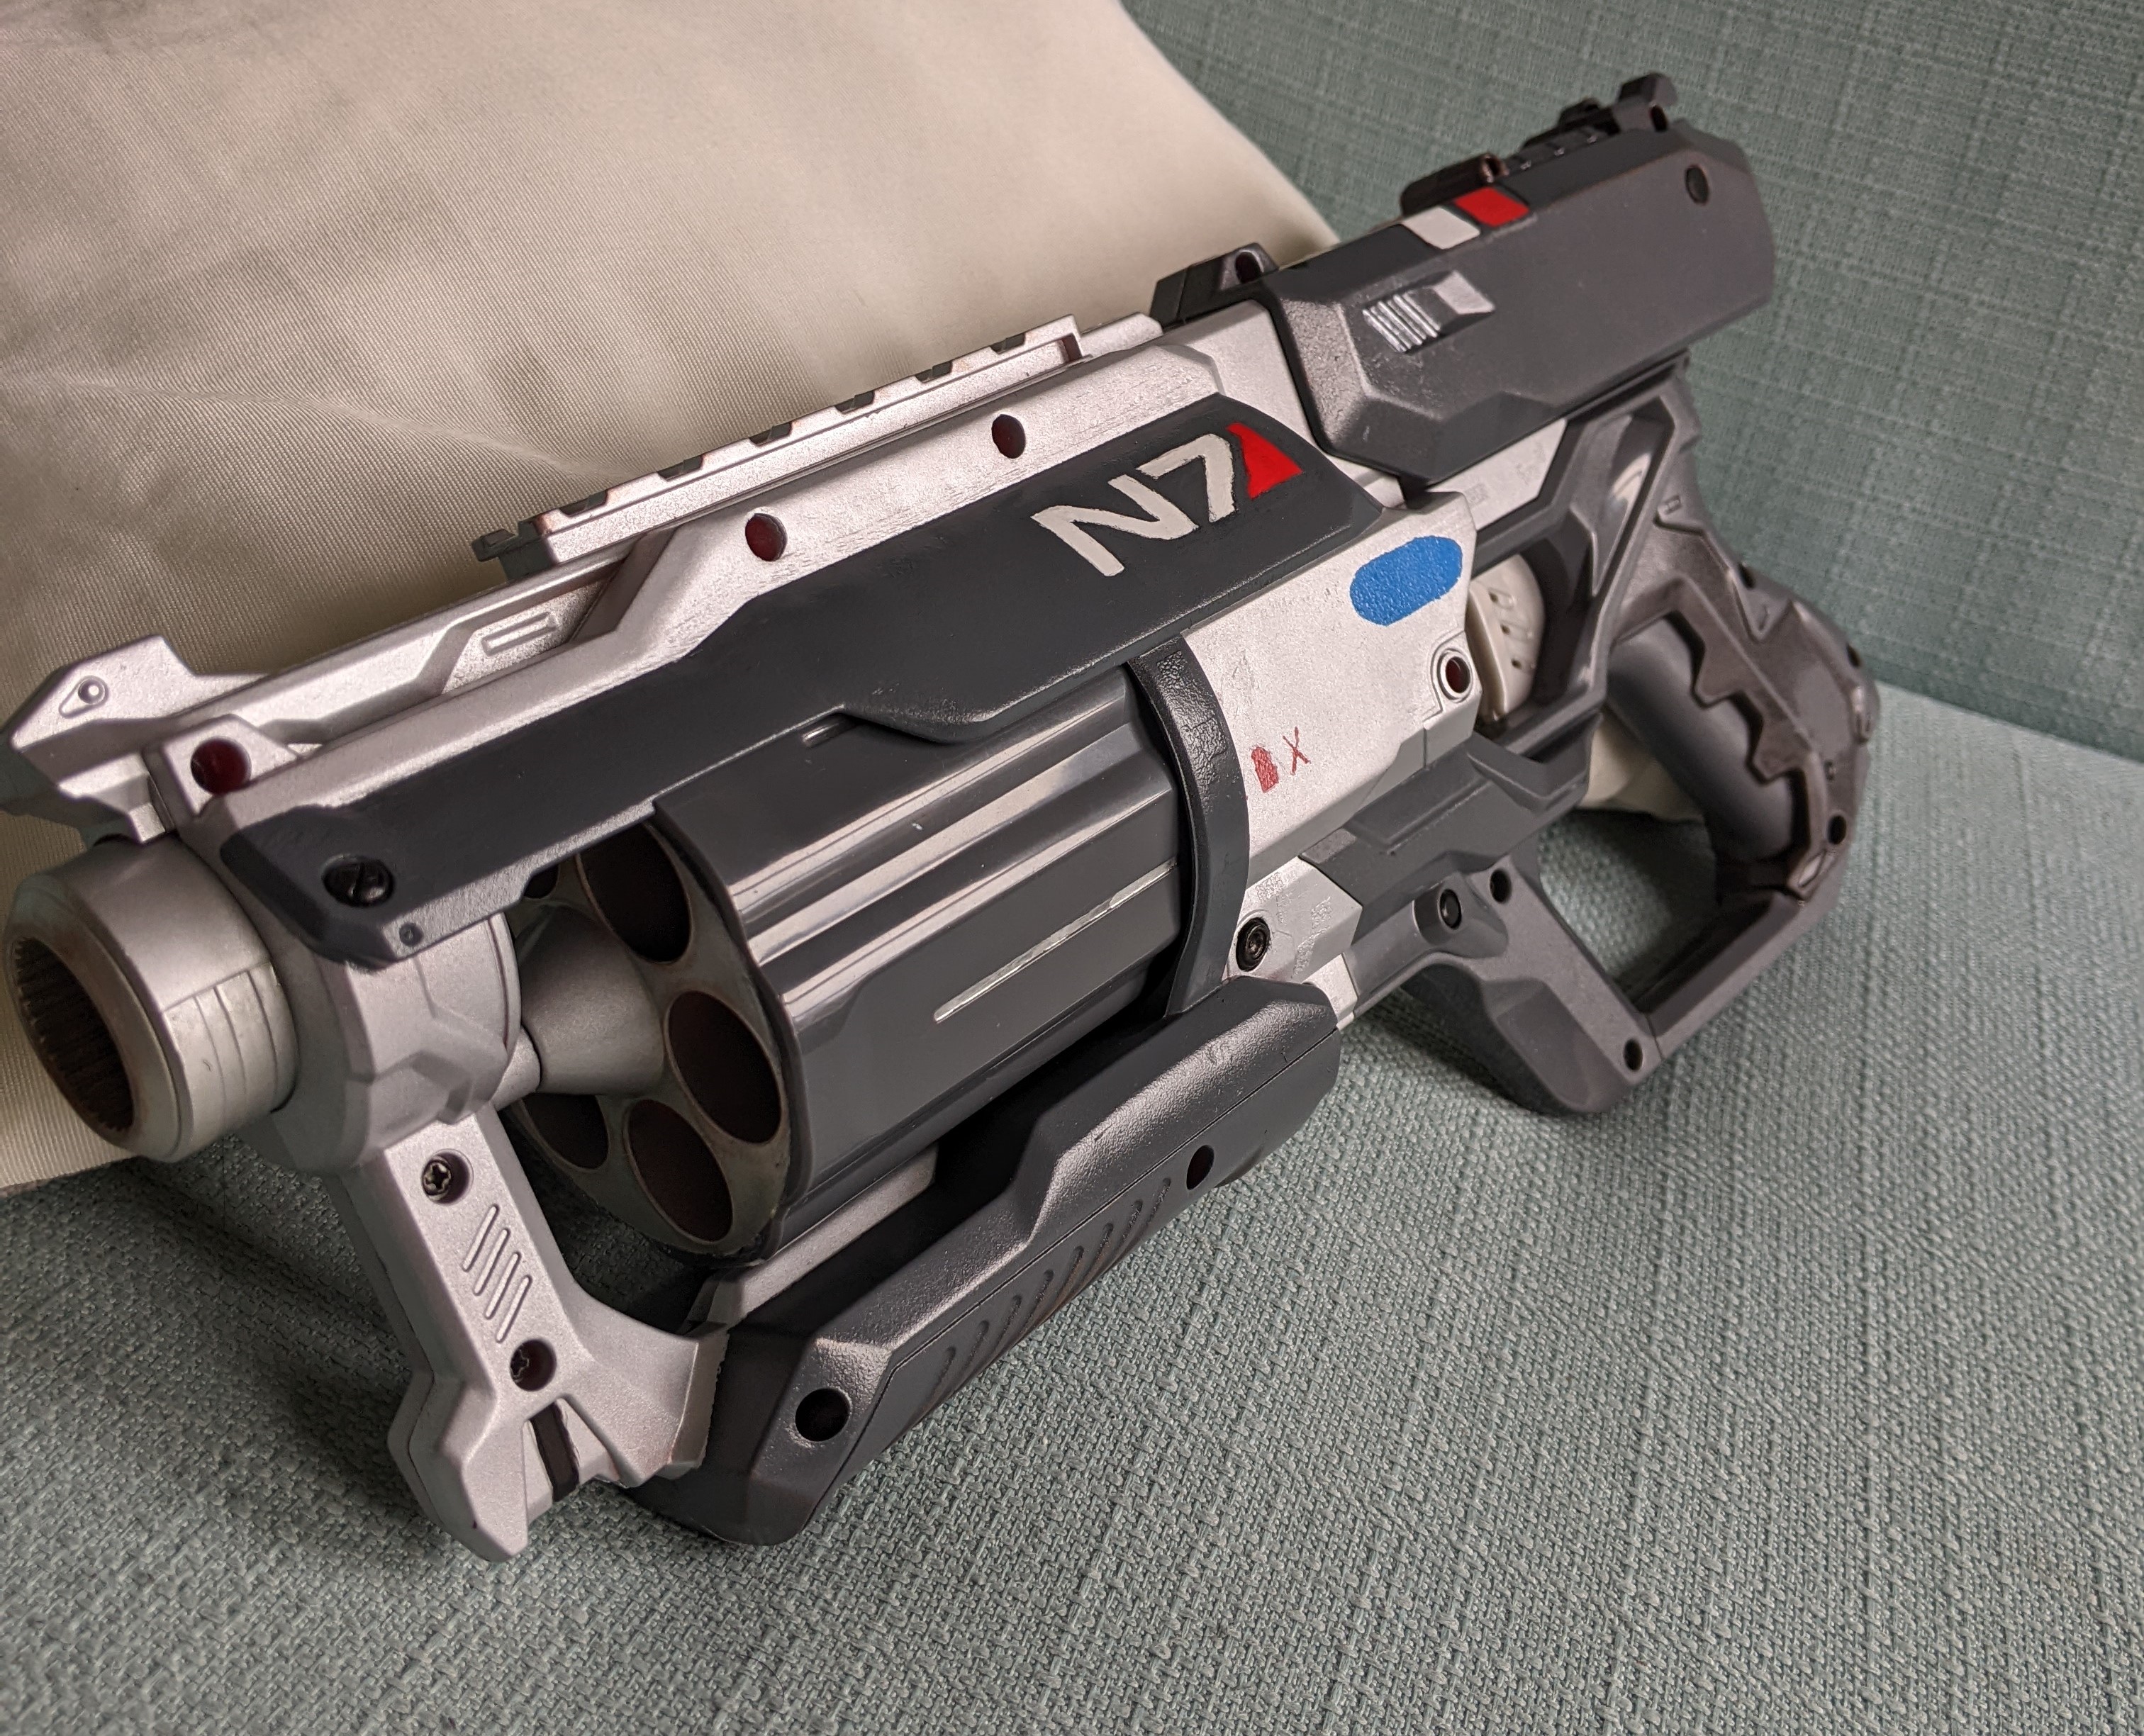
Date Started: March 2022
Date Completed: July 2022
Materials & Tools
| Pistol | Nerf Cycloneshock toy |
|---|---|
| Spray paints (Primer, Silver, Grey) | |
| Protective coat spray | |
| Acrylic paints (White, Red, Blue, Copper) | |
| Tools | Dremel (with sanding bits) |
| Sandpaper (80-300 grit) | |
| Paint brushes (standard, stencil) | |
| Template Plastic sheet | |
| Masking tape | |
| Ruler | |
| Fine tip pen | |
| Craft Knife | |
| Screwdriver |
The Mass Effect universe has a unique visual identity, which is reflected in its weapon designs. Collapsable weapons with uniform colour schemes, and sci-fi lights everywhere. Making a prop of one was a goal for years, but no Nerf gun toys I had would fit the visual identity of Mass Effect. Then a Cycloneshock was listed on eBay, and instantly the cogs started turning, mentally transforming it into a compact heavy pistol.
Sanding and spray painting the Mass Effect pistol
Few changes needed to be made to the original nerf toy's design to fit Mass Effect's aesthetics. While most weapons in the games
don't feature rotating cylinders (due to not utilising bullets for in-game lore reasons, it's a whole thing), I still felt the
Cycloneshock's overall design of a large heavy-duty pistol fit well for the purpose. It also featured a gunmetal-grey grip section
and silver trigger piece by default, removing the need to paint and finish those sections which would have the most wear and tear.
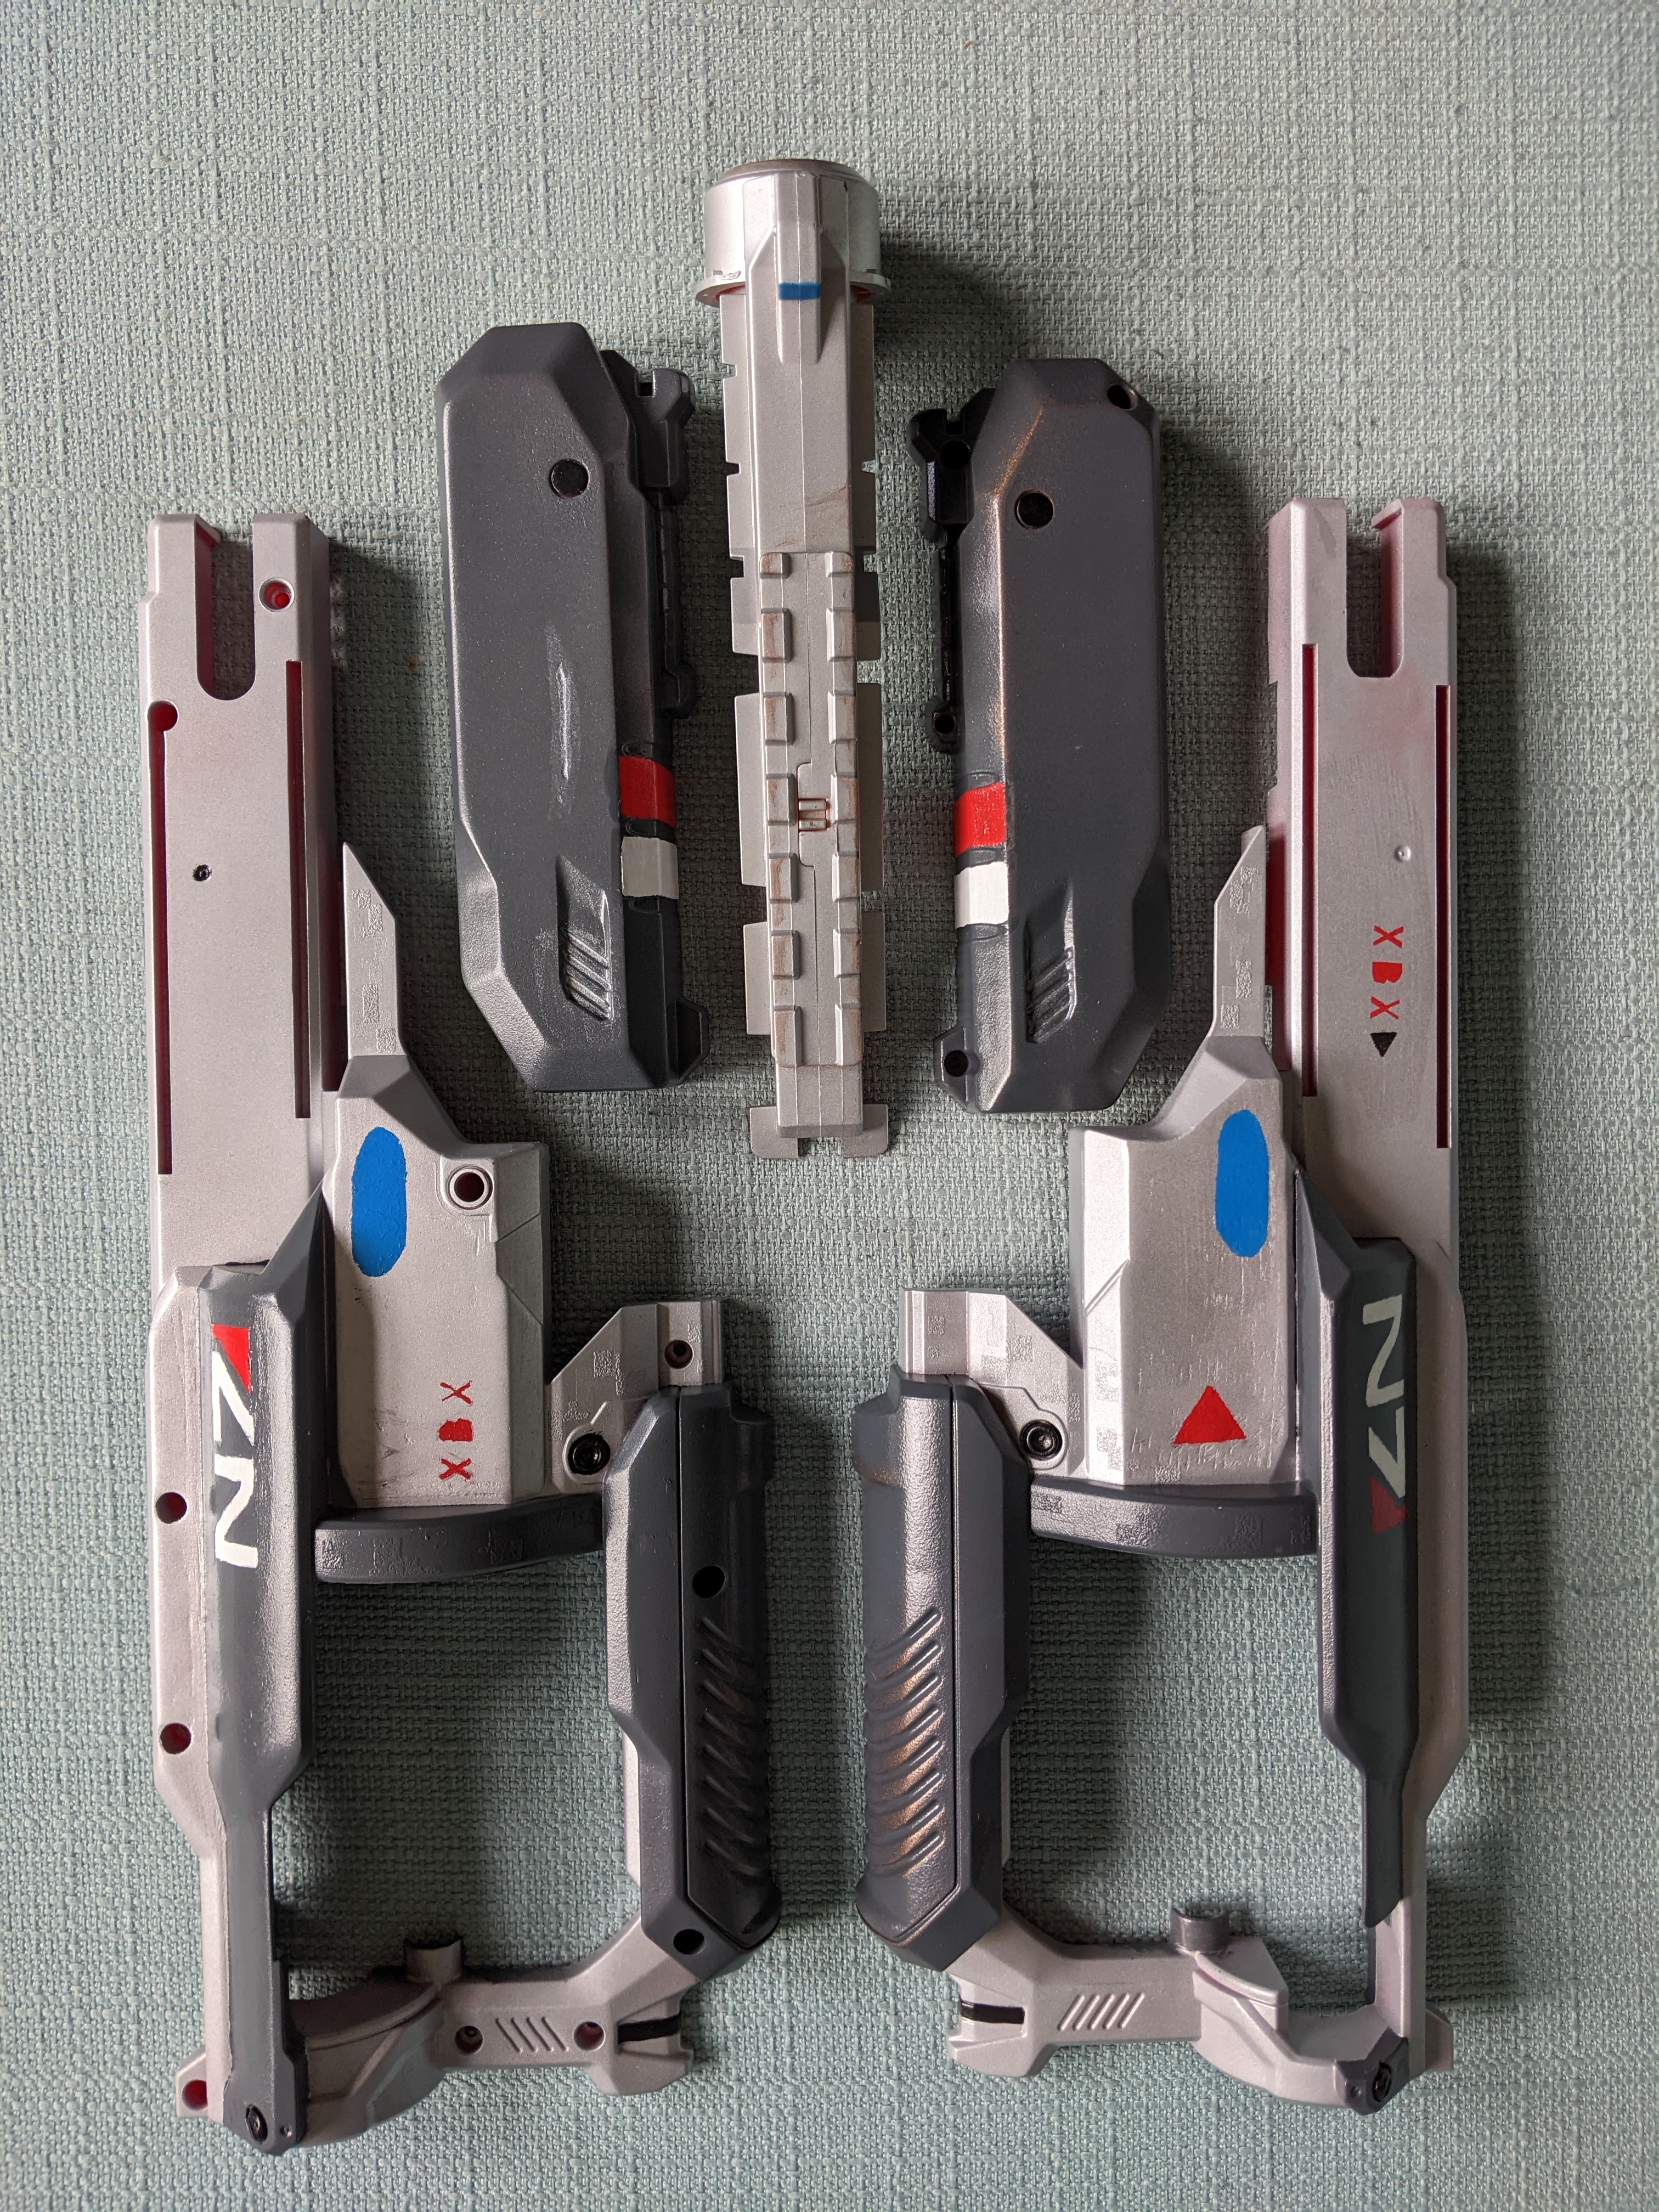
After drawing up a rough pattern for the new colours in Clip Studio Paint, I disassembled the Nerf toy (remember to document which
screws go into which slots, as well as internal mechanical pieces) and isolated each large plastic shell piece. Nerf branding and details
part of the plastic shells themselves were sanded away using a dremel with 60 and 80 grit sanding bits, then with higher grit sandpaper
(80, 120, 240, and 300, starting rough and going smoother). Then the shell pieces to be painted (i.e all but the trigger and grip pieces) were given a few thin coats of plastic primer spray, to prepare
them for painting. Silver spray paint was applied to every primed piece as a base colour, where grey would be painted on top after masking tape
was stuck on the areas to keep silver.
Stenciling and detailing
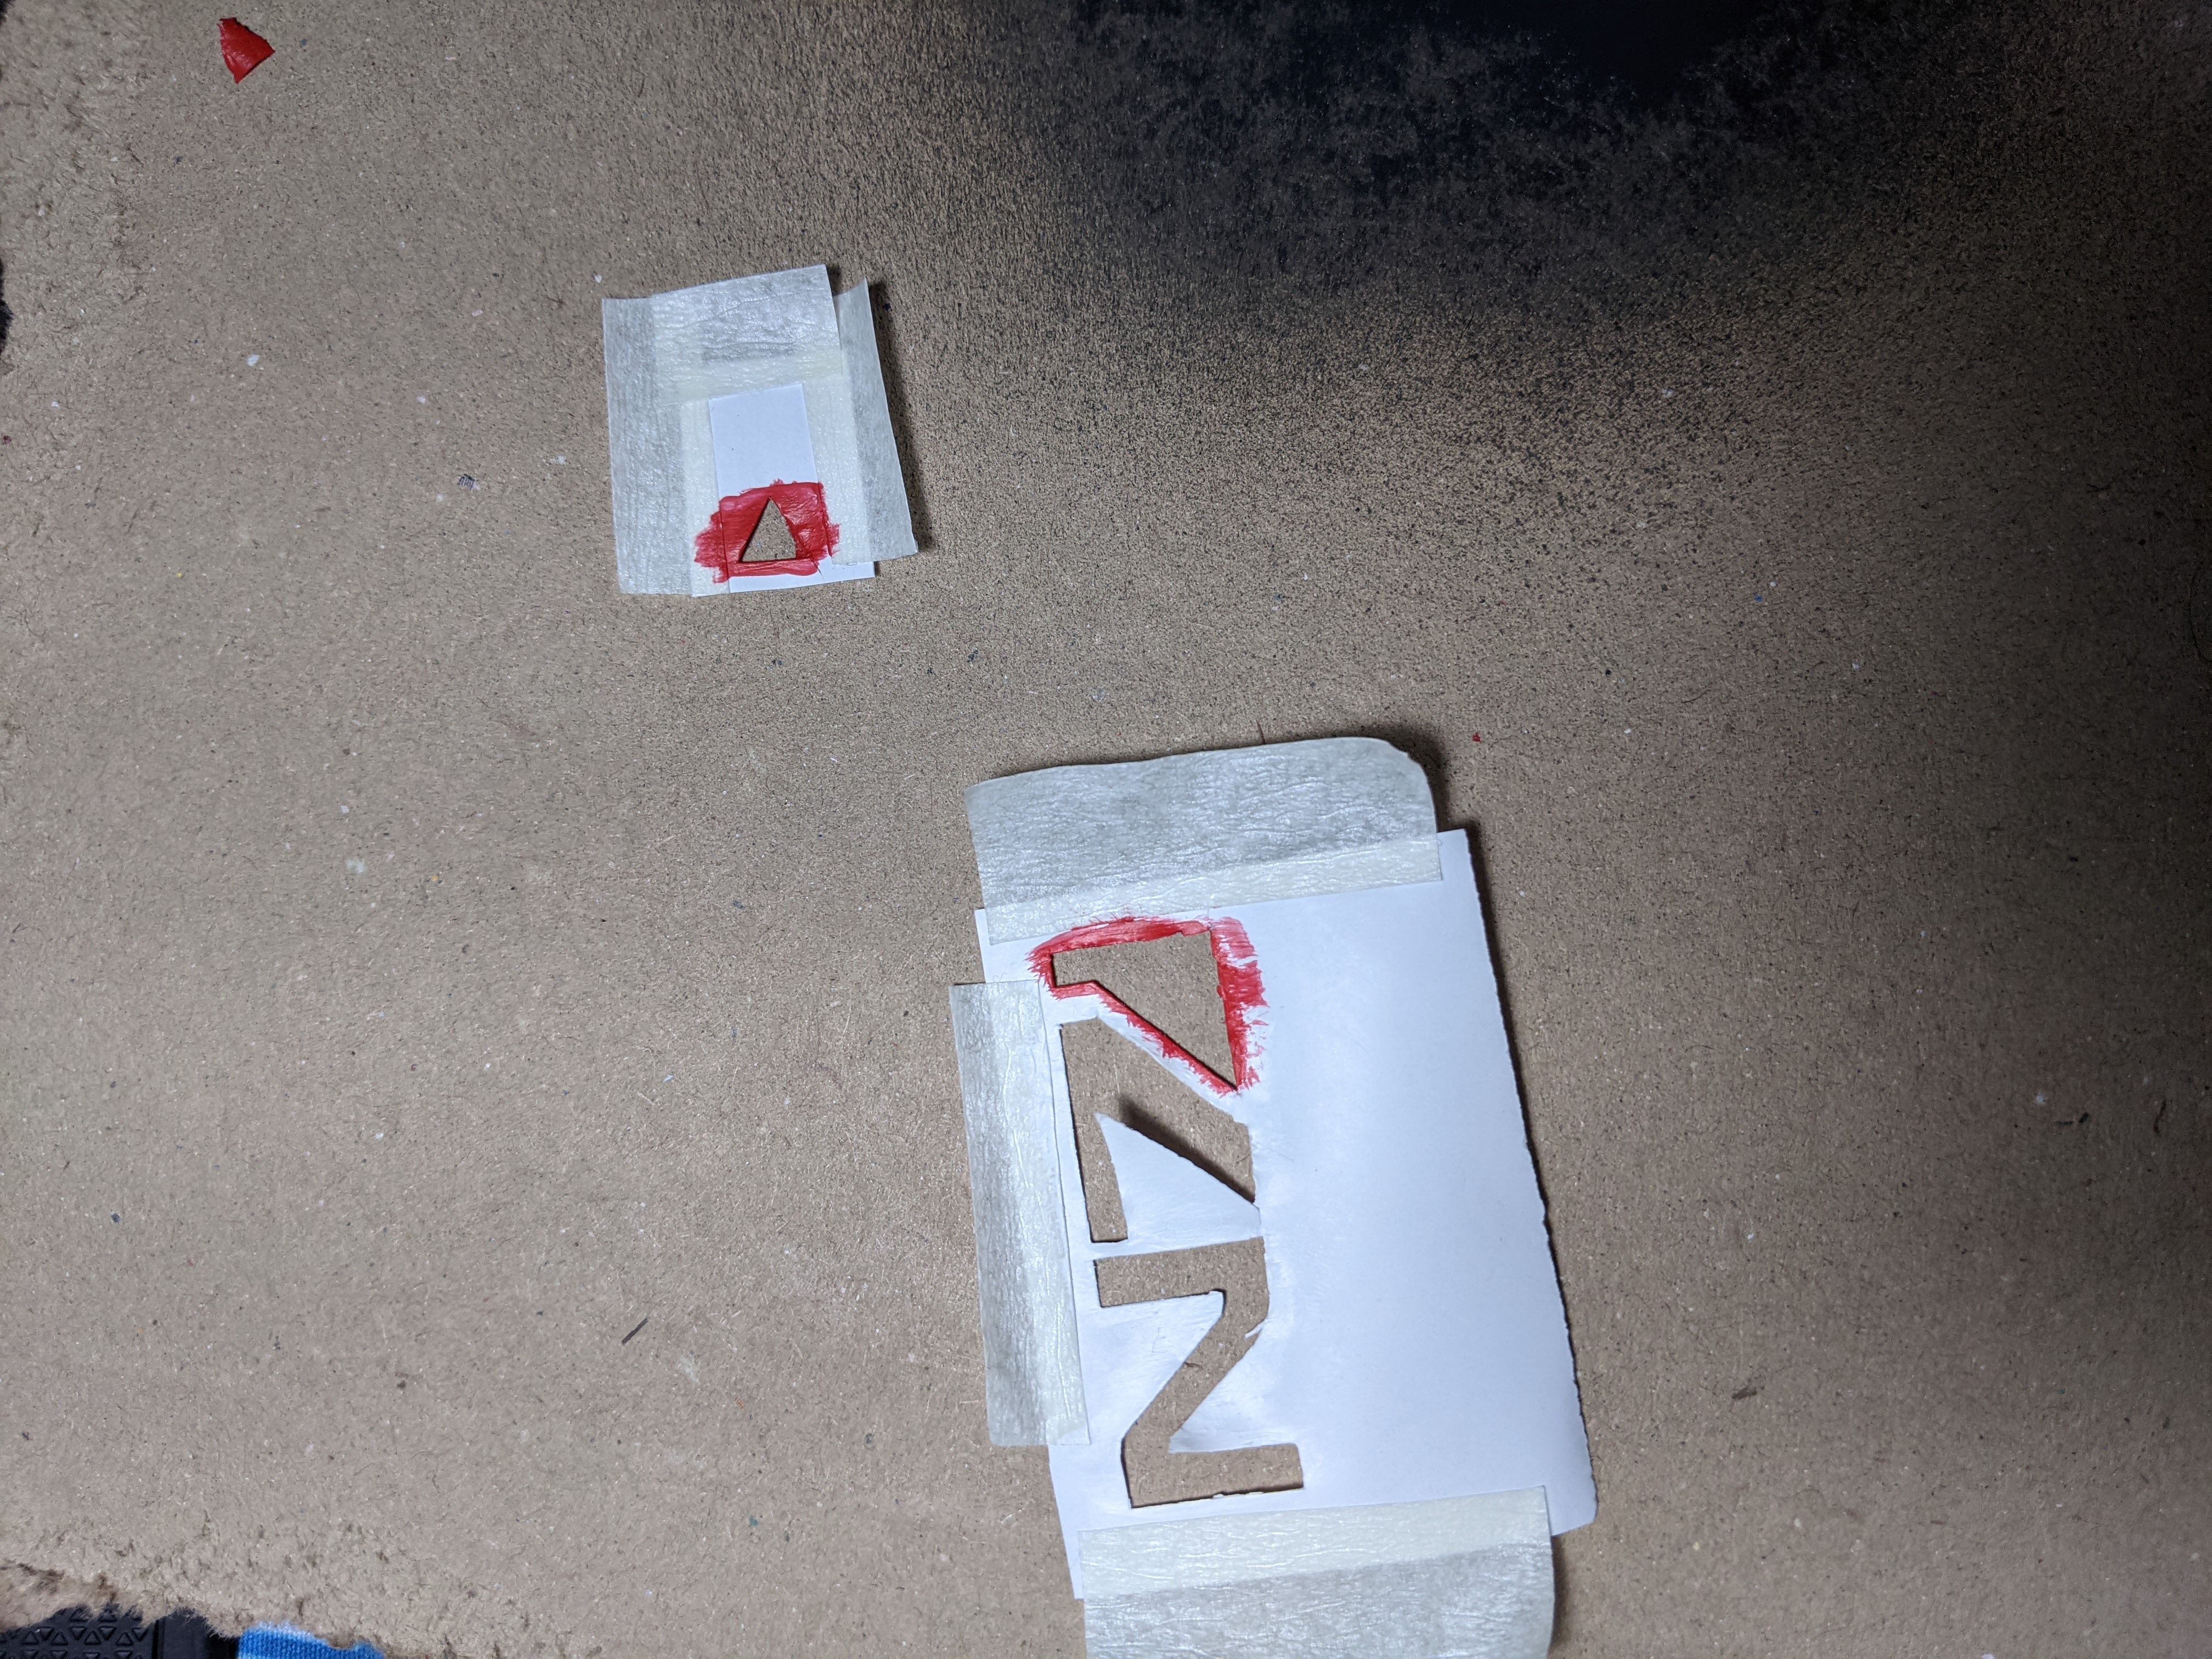
This project was the first time trying to make and use stencils for lettering and detailing. These were made from template plastic sheets,
commonly used for patchwork and quilting patterns, which are thin enough to cut easily while being thick enough to maintain its shape. While
standard paper can work in some cases, I had issues with the paint peeling and sticking to the stencil when removing it, which template plastic
fixed. The paint was applied using stencil brushes, building up thin coats through dabbing the brushes on the toy shell pieces. After this was done,
the stencils were removed and the edges of the lettering were tidied up by hand.
As well as the prominent N7 lettering on the side of the pistol, other stenciled details were some small lettering and shapes on the sides
to add visual variety, and an in-universe "heat sink" under the top slide, as that's where they get ejected when reloading them in Mass Effect 2 onwards.
This was done with layering non-stenciled and stenciled paintings, then the black outline done with a black manga artist pen.
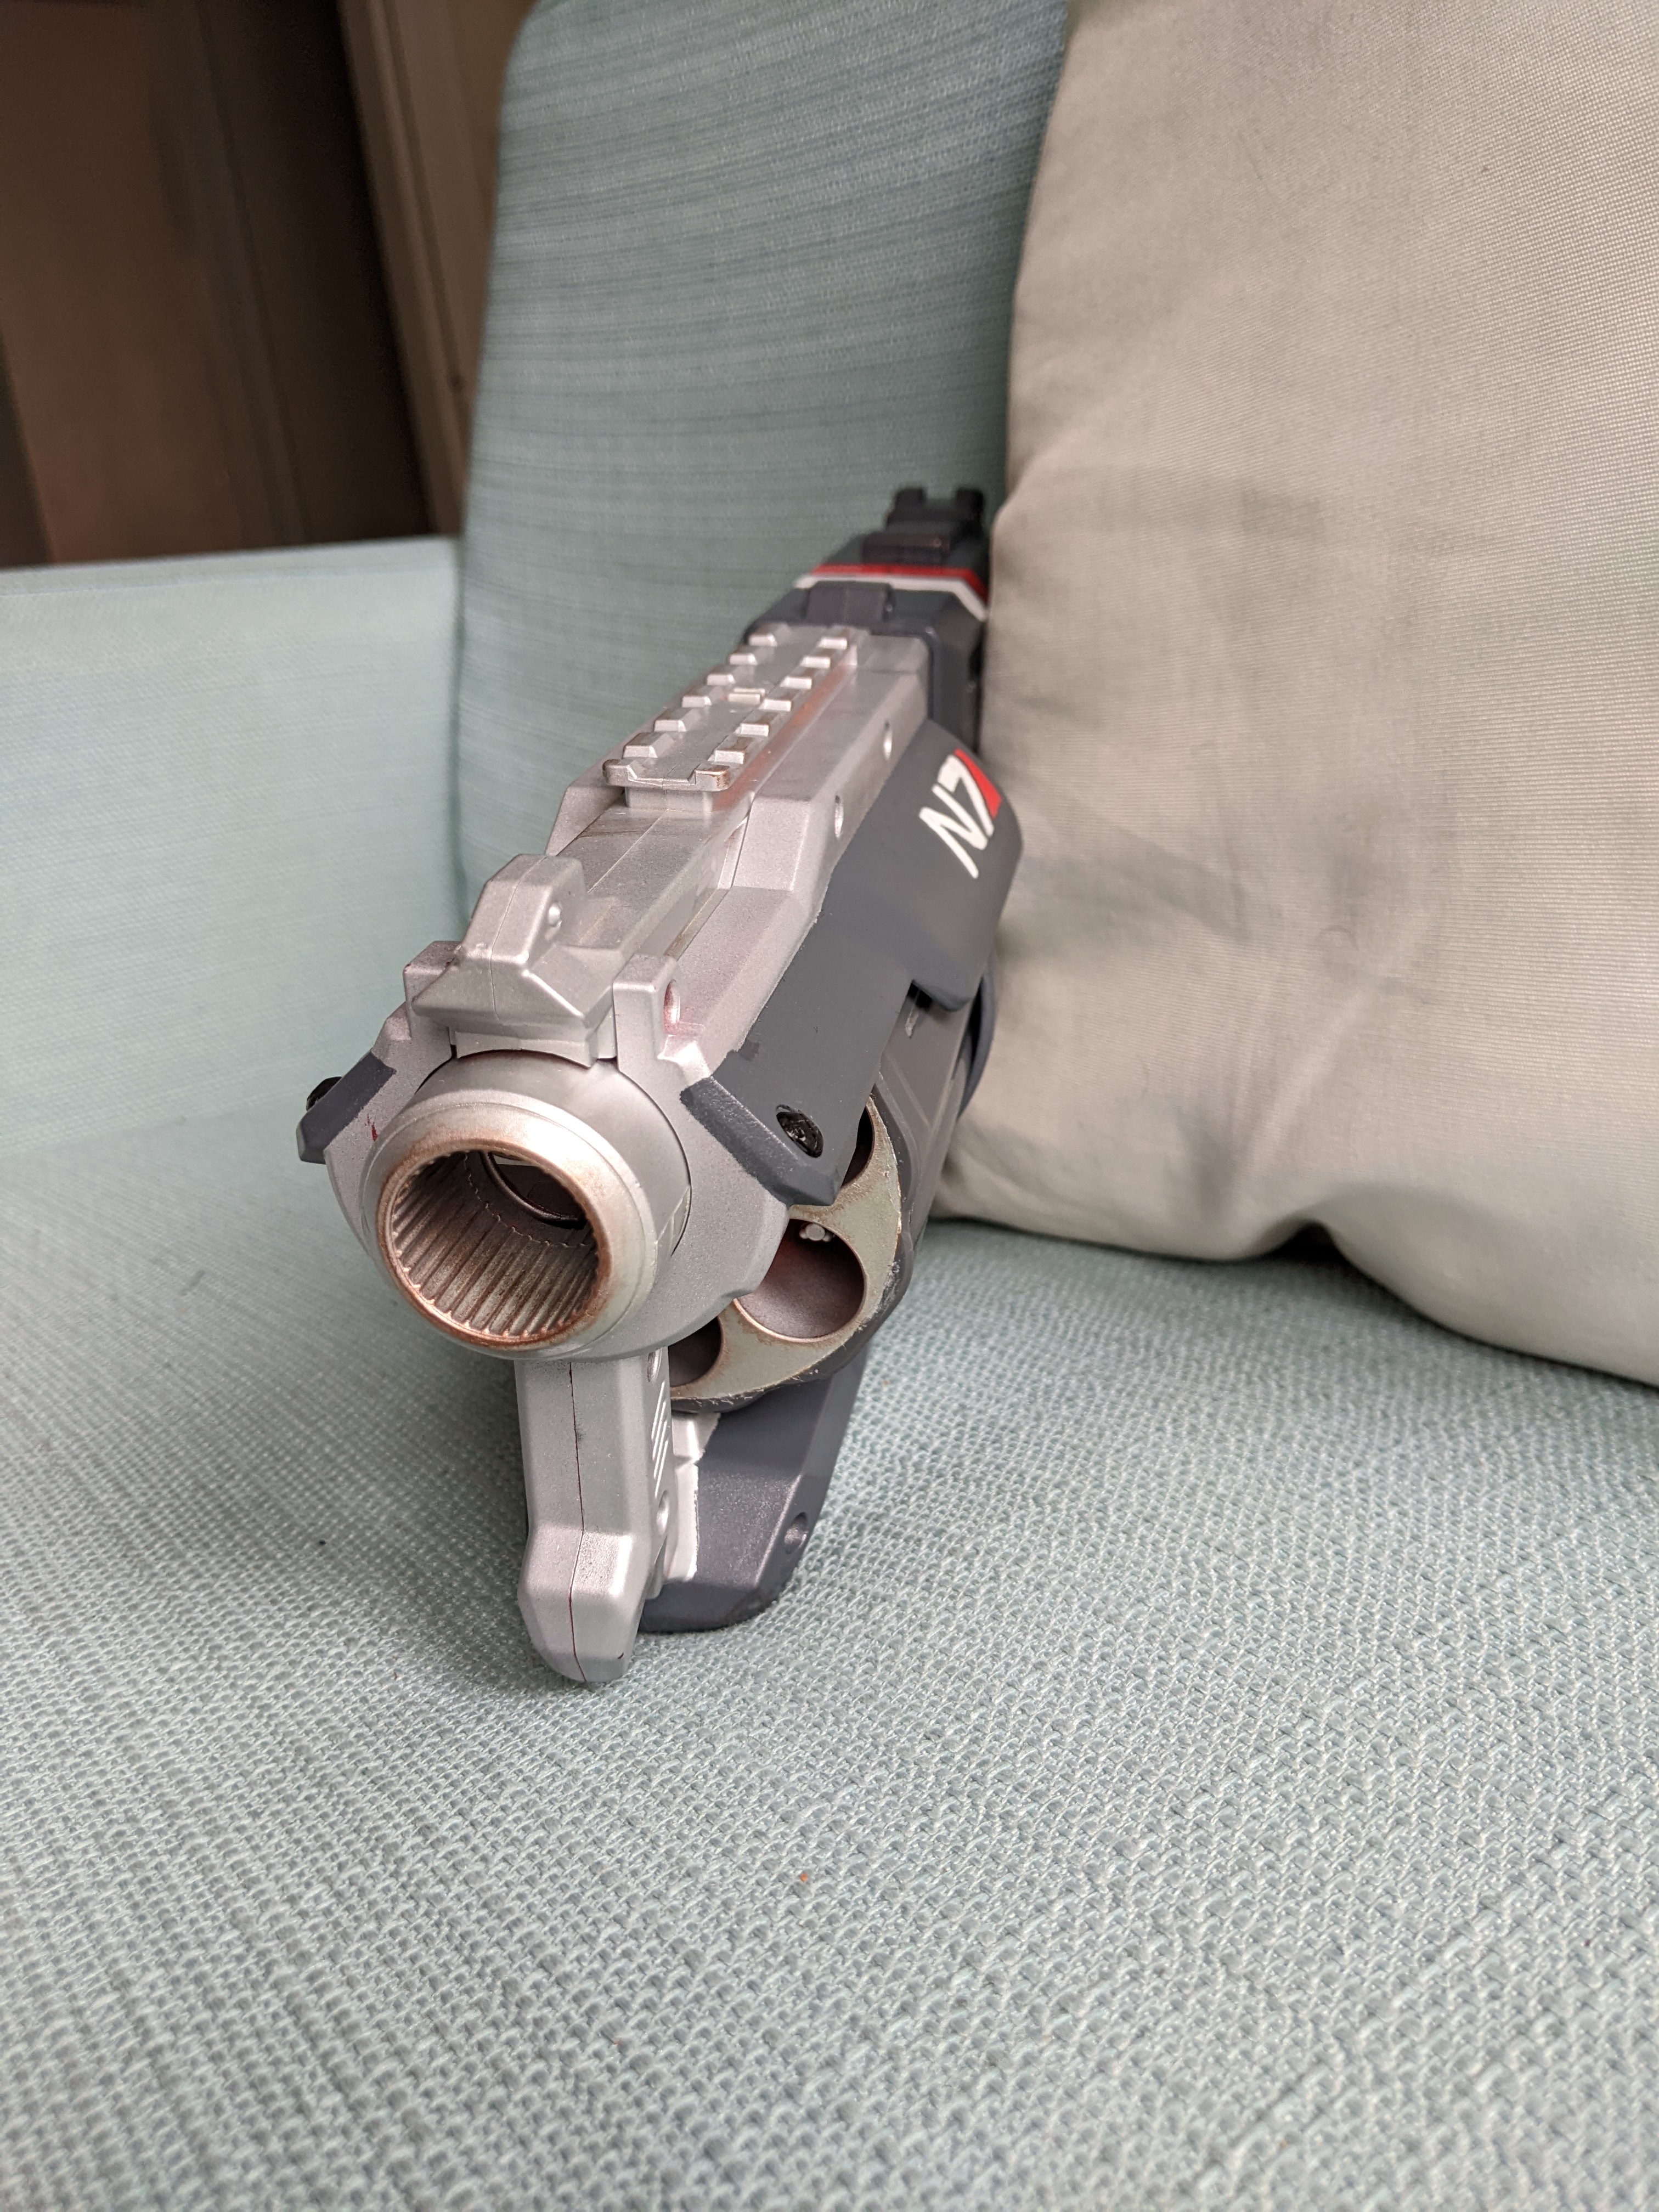

A final step in detailing was to add weathering, which this was also my first attempt at doing. This is done with dry brushing, a technique
where a small amount of paint is put onto a brush, such that it's mostly dry paint, and applied in a quick back and forth motion.
This will mean that most of the dry paint will be brushed onto more of the edges, nooks, and corners of the model, which mirrors where most grime and
wearing would collect. So on this pistol, that meant that the exposed edges of the top slide, the barrel and cylinder slots, and picatinny rail
for attachments.
After all sanding, painting, and detailing were done, some thin coats of a protective coat was sprayed on to keep the paint from chipping
or rubbing off. This is also important for the top slide mechanism, as repetitive usage would likely damage the paint otherwise.


