Core Crystals
Xenoblade Chronicles

First Crystal made August 2022
Most recently made November 2023
Materials & Tools
| Core Crystal | EVA foam (5 and 10mm thickness) |
|---|---|
| Mod Podge | |
| Plastic Primer spray paint | |
| Spray paints (Red, Gold, Purple, Green, decided by crystal variant) |
|
| Protective coat spray | |
| Tools | Dremel (with sanding bits) |
| Craft knife | |
| Ruler | |
| Template Plastic sheet | |
| Masking tape | |
| Super glue | |
| Fine tip pen |
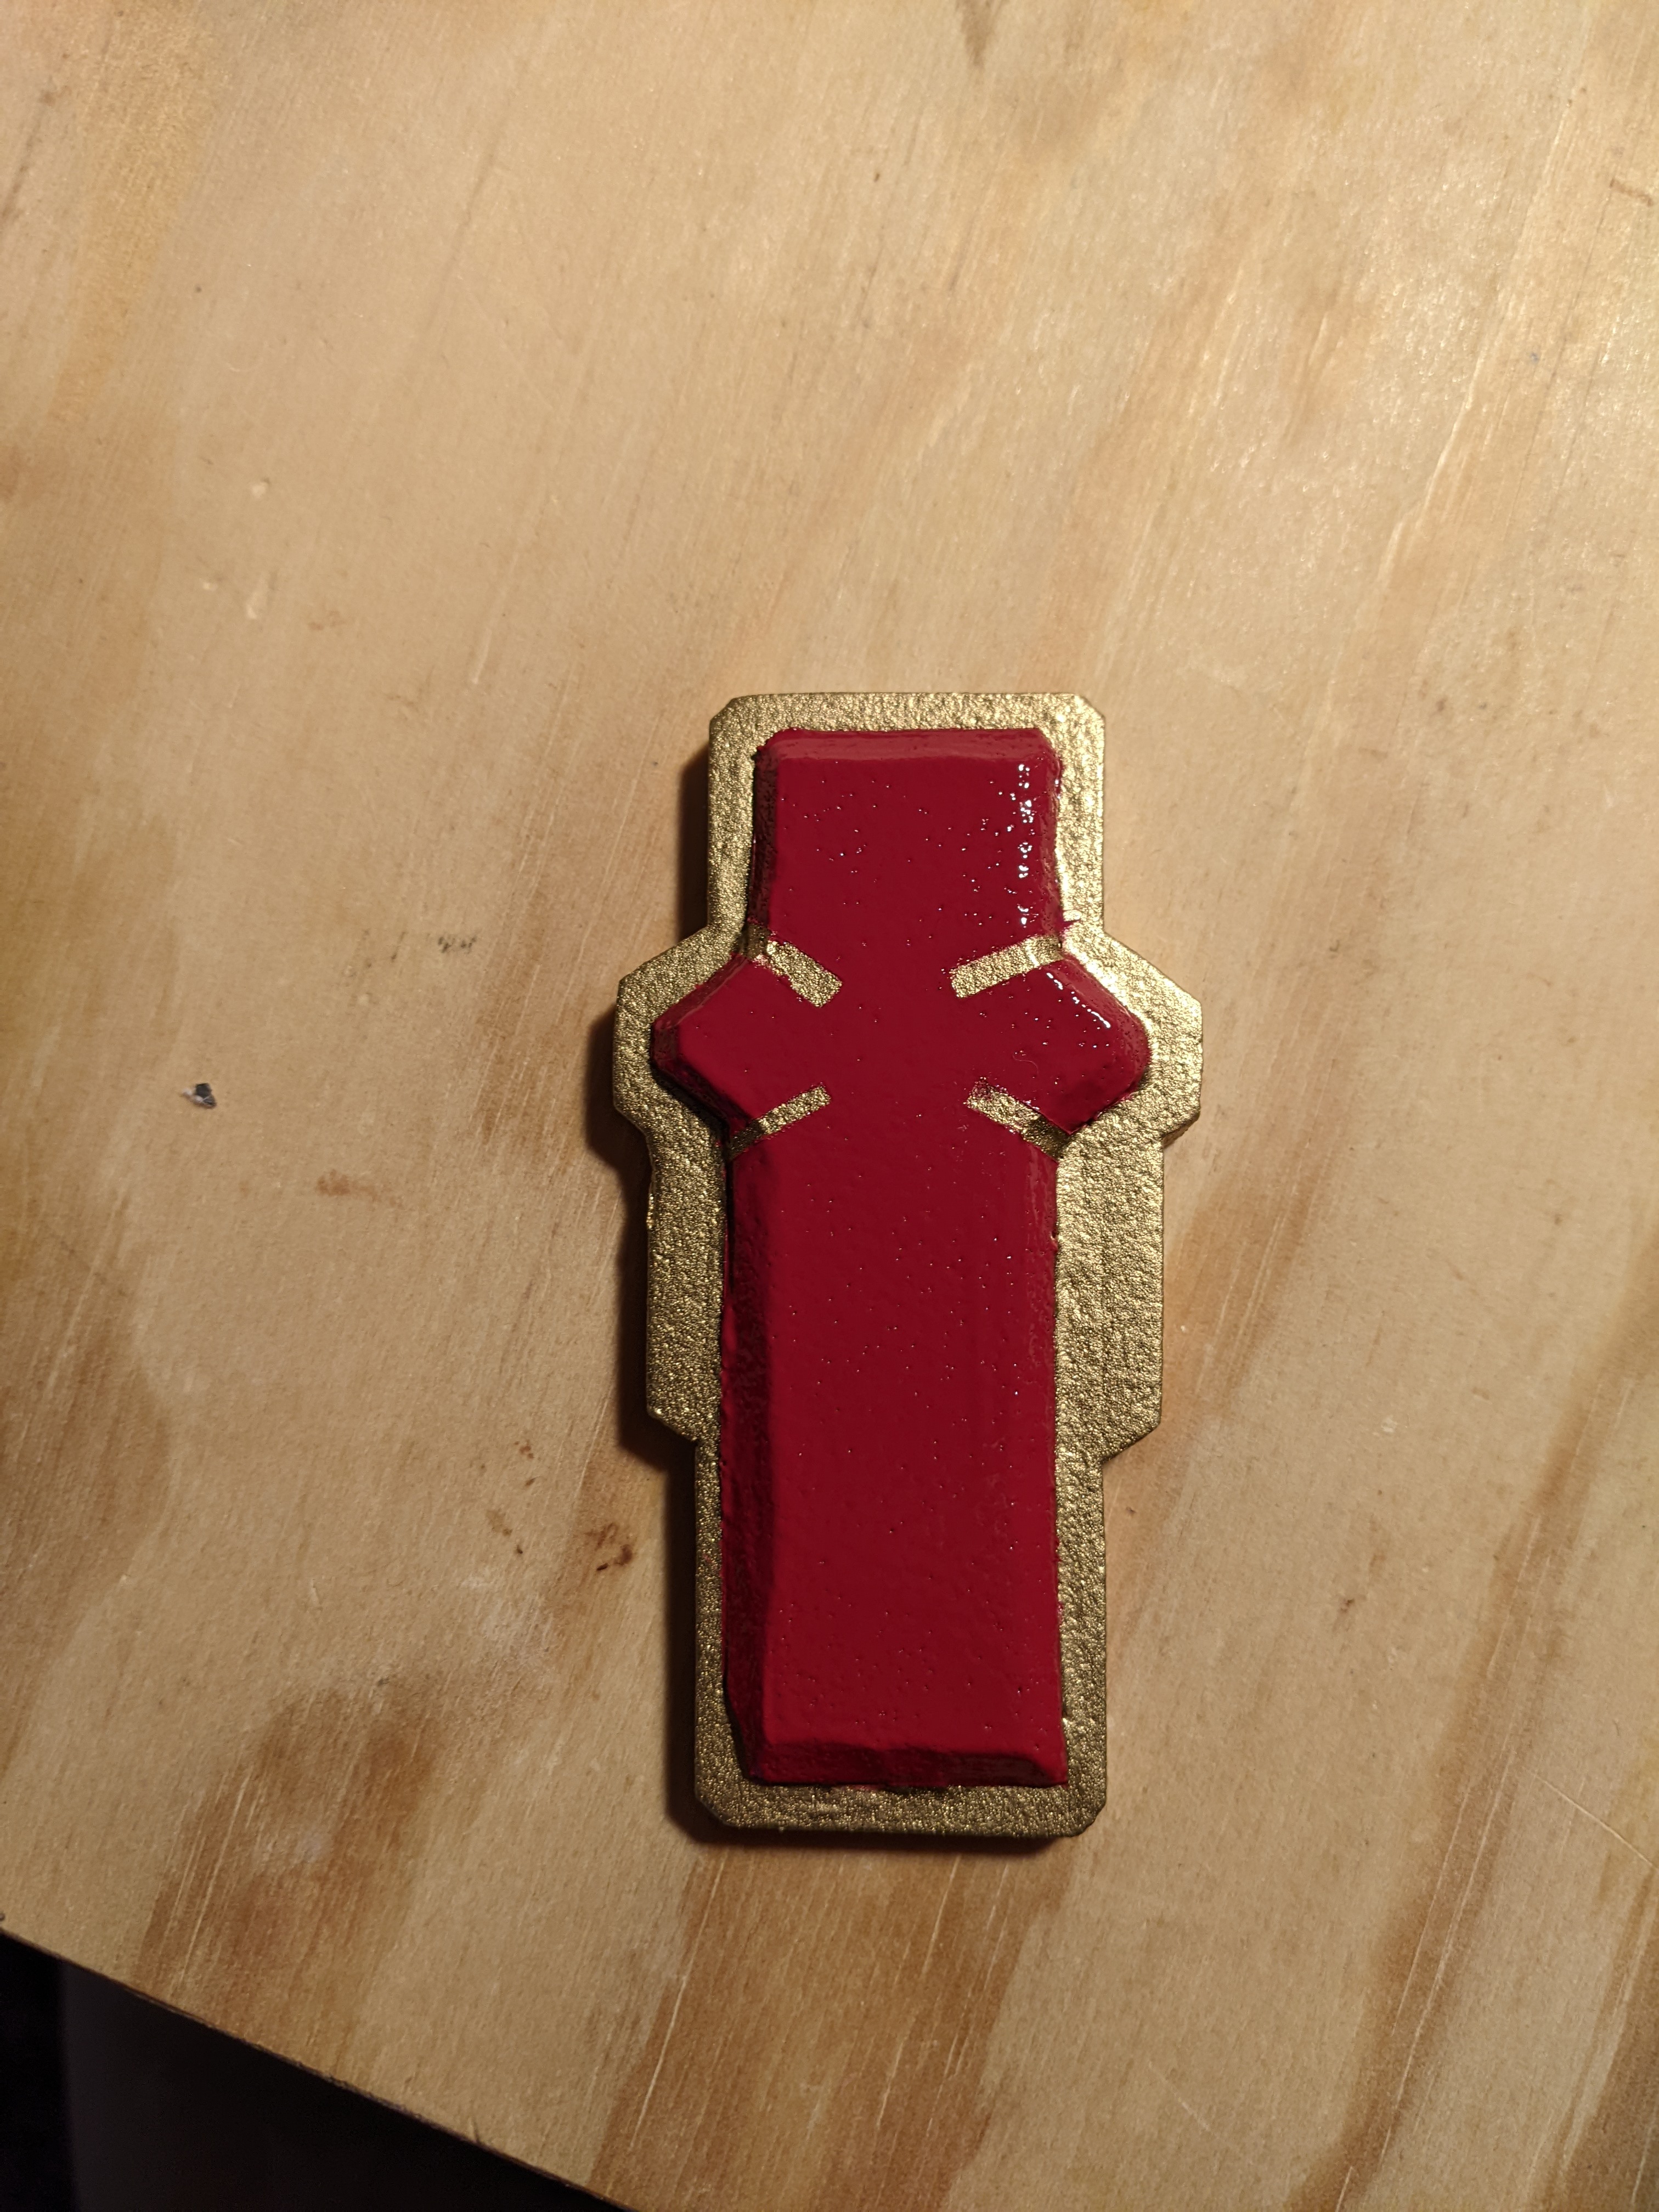
These cross-shaped crystals are a visual and story-relevant staple in the Xenoblade Chronicles (and wider Xeno) franchise, with three main colours being present: Red, Green, and Purple. Making them as a prop out of foam is a simple project, but making them consistent to each other required taking time to make game-accurate patterns and templates. The exact methodology changed with my practise with prop-making as a whole, but it is now a repeatable process with good results.
Designing prototypes
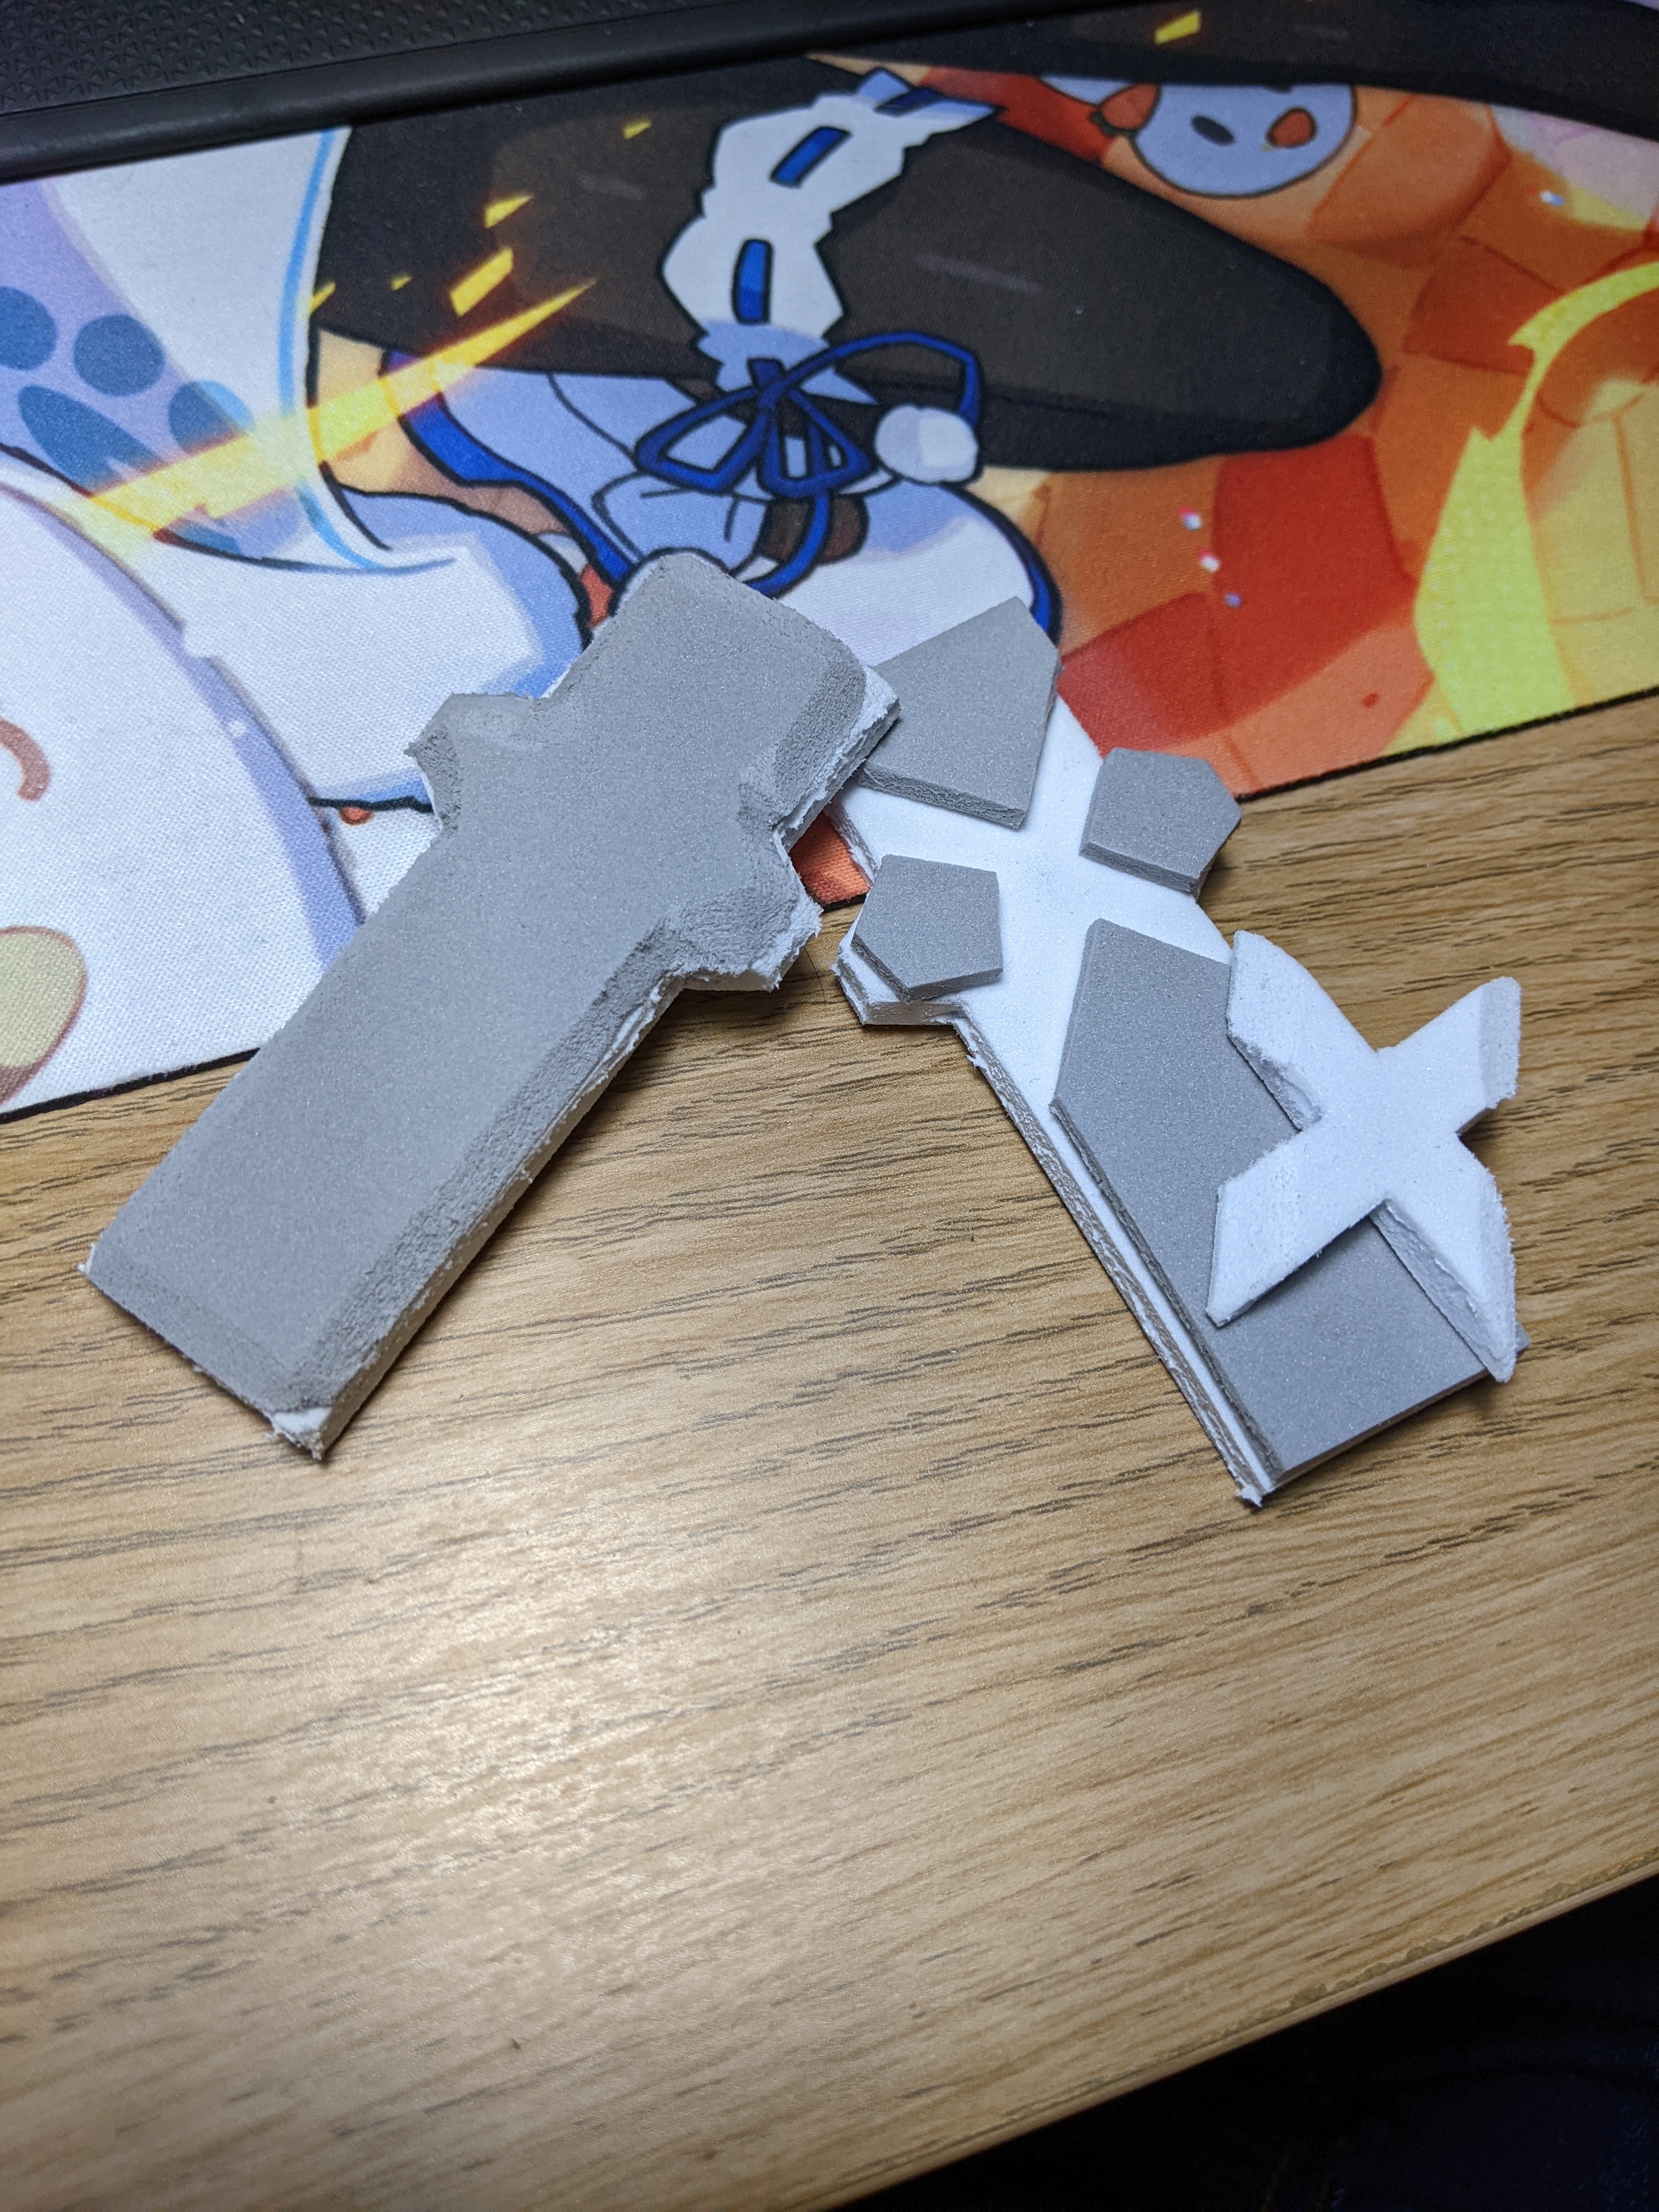
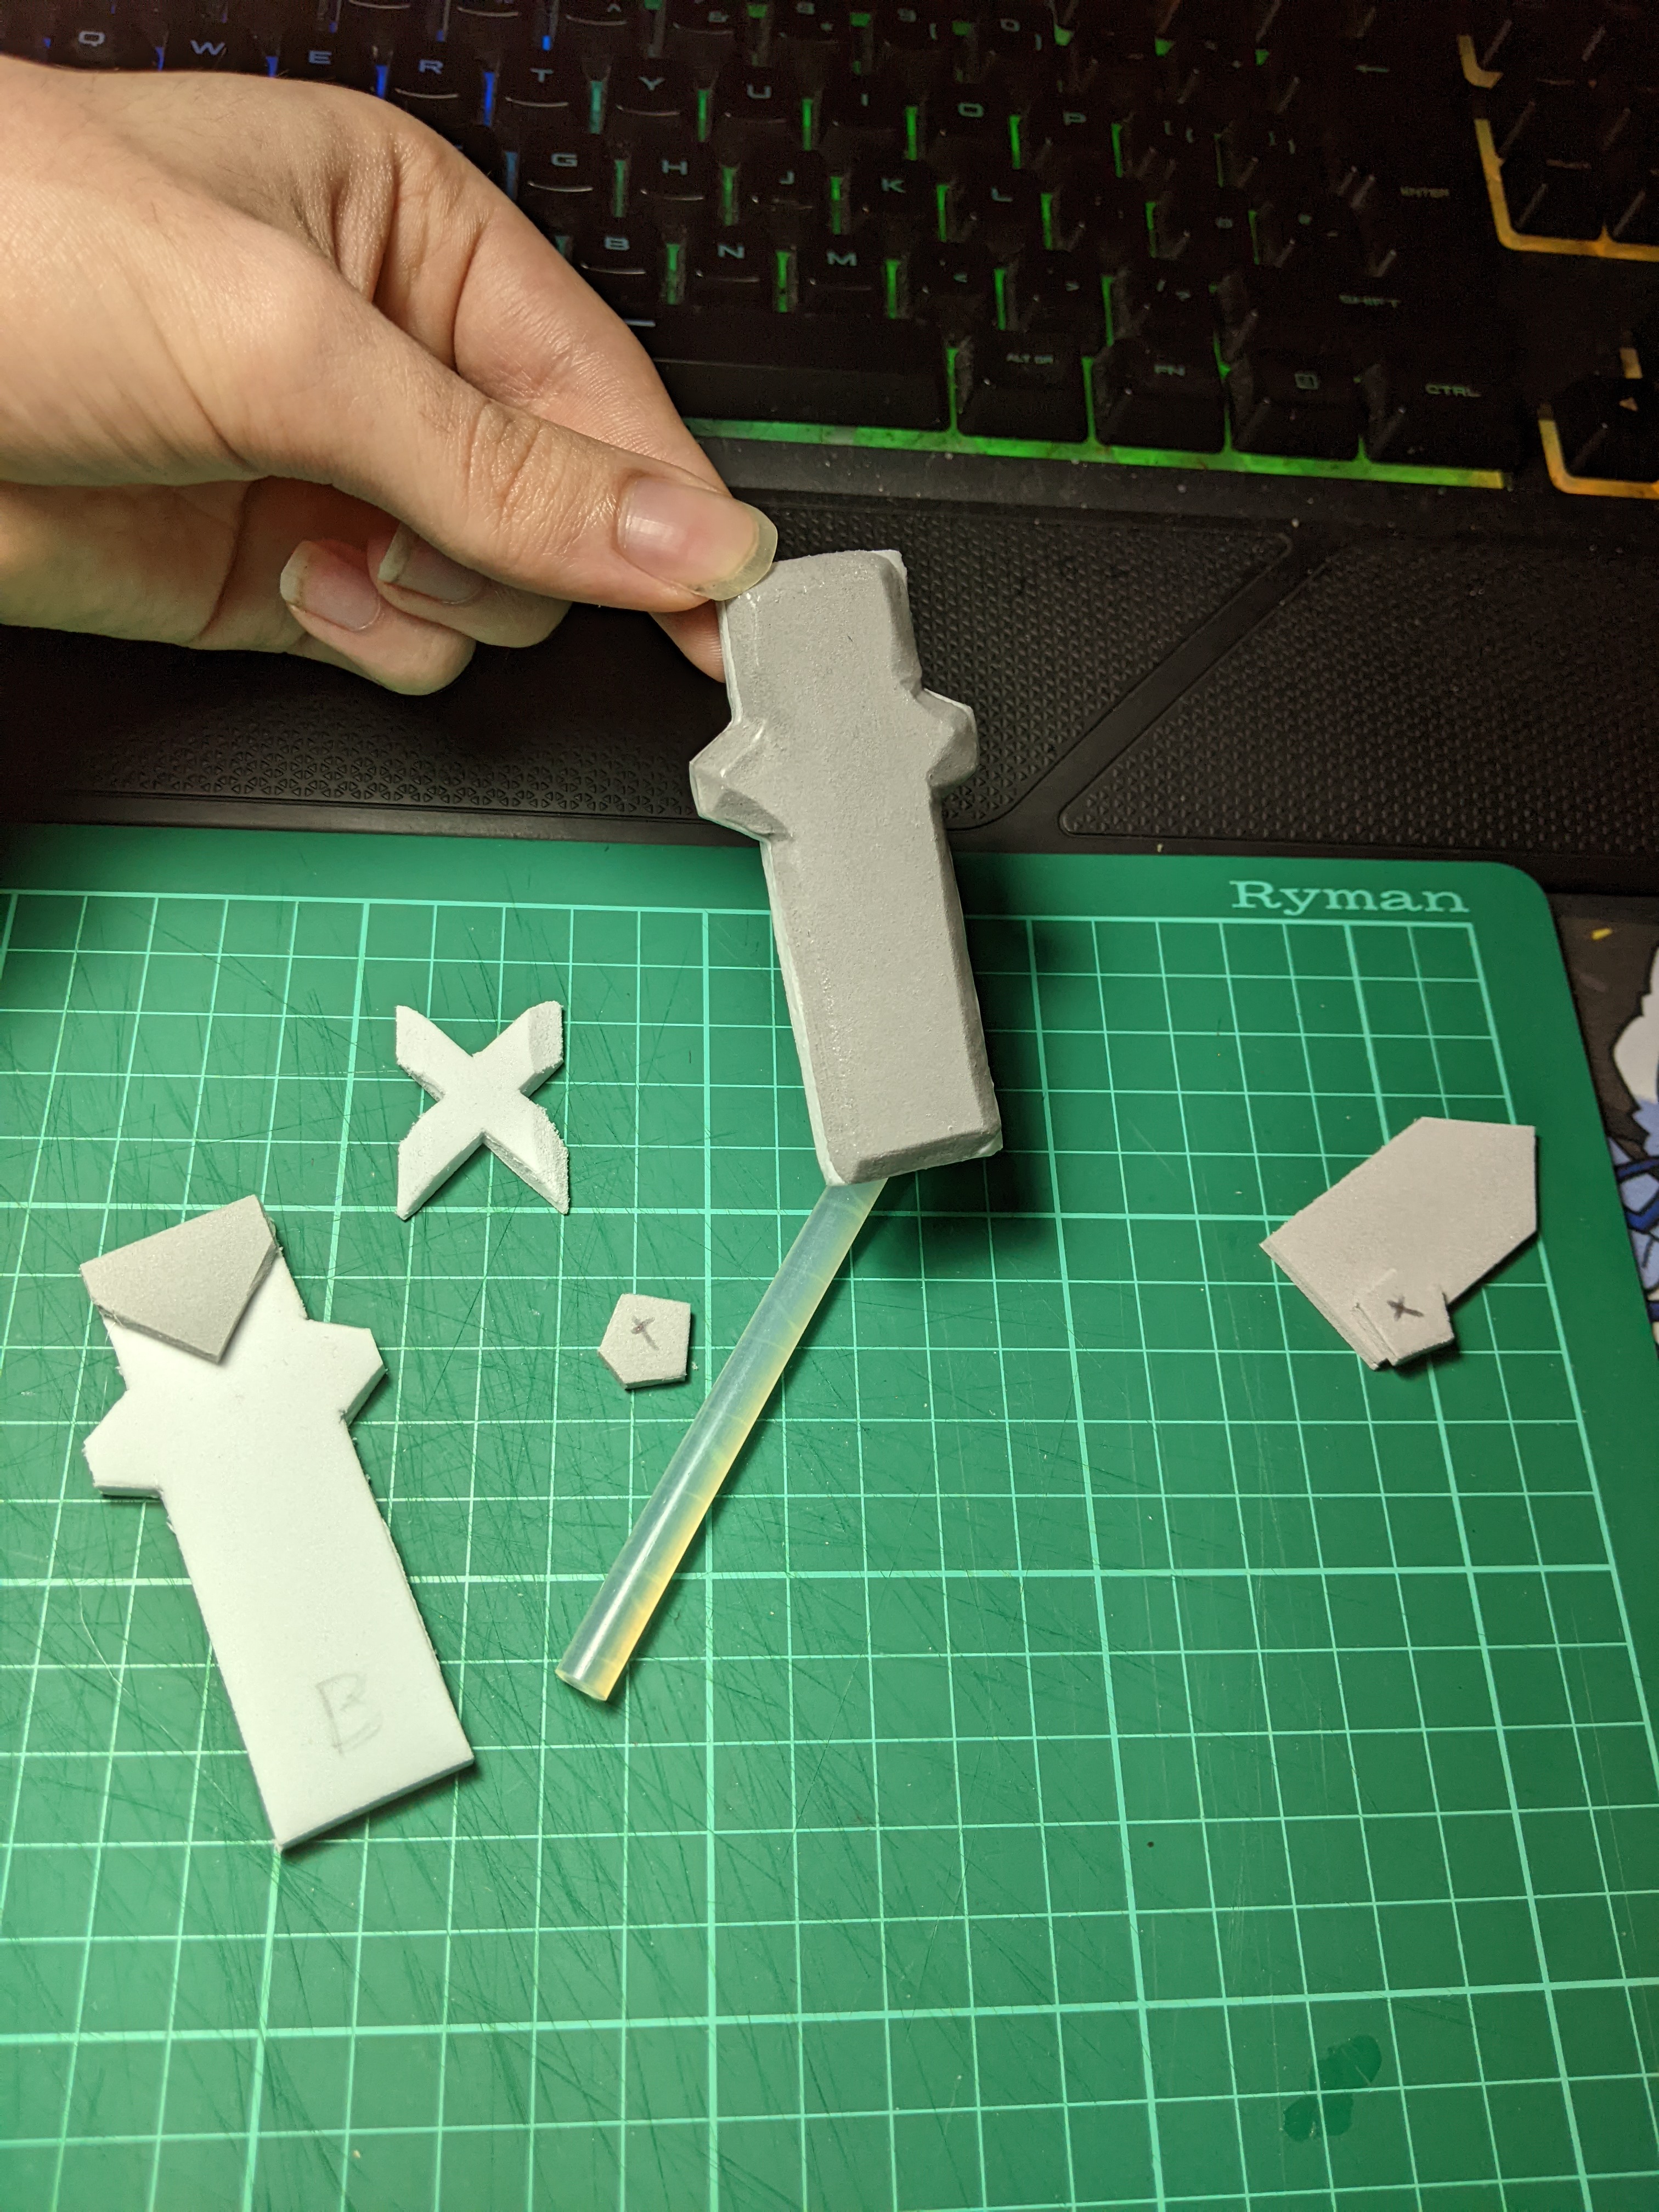
The first two core crystals were made using a resin crystal prop I was given as a gift, measuring its dimensions and copying the pattern
onto EVA foam sheets. I used two layers of foam: one 10mm-think backing layer and a 5mm-thick layer with dremeled bevel edges. The layers
are glued together with super glue rather than hot glue, to avoid bulges from hot glue spots or gaps between layers. After the glue sets,
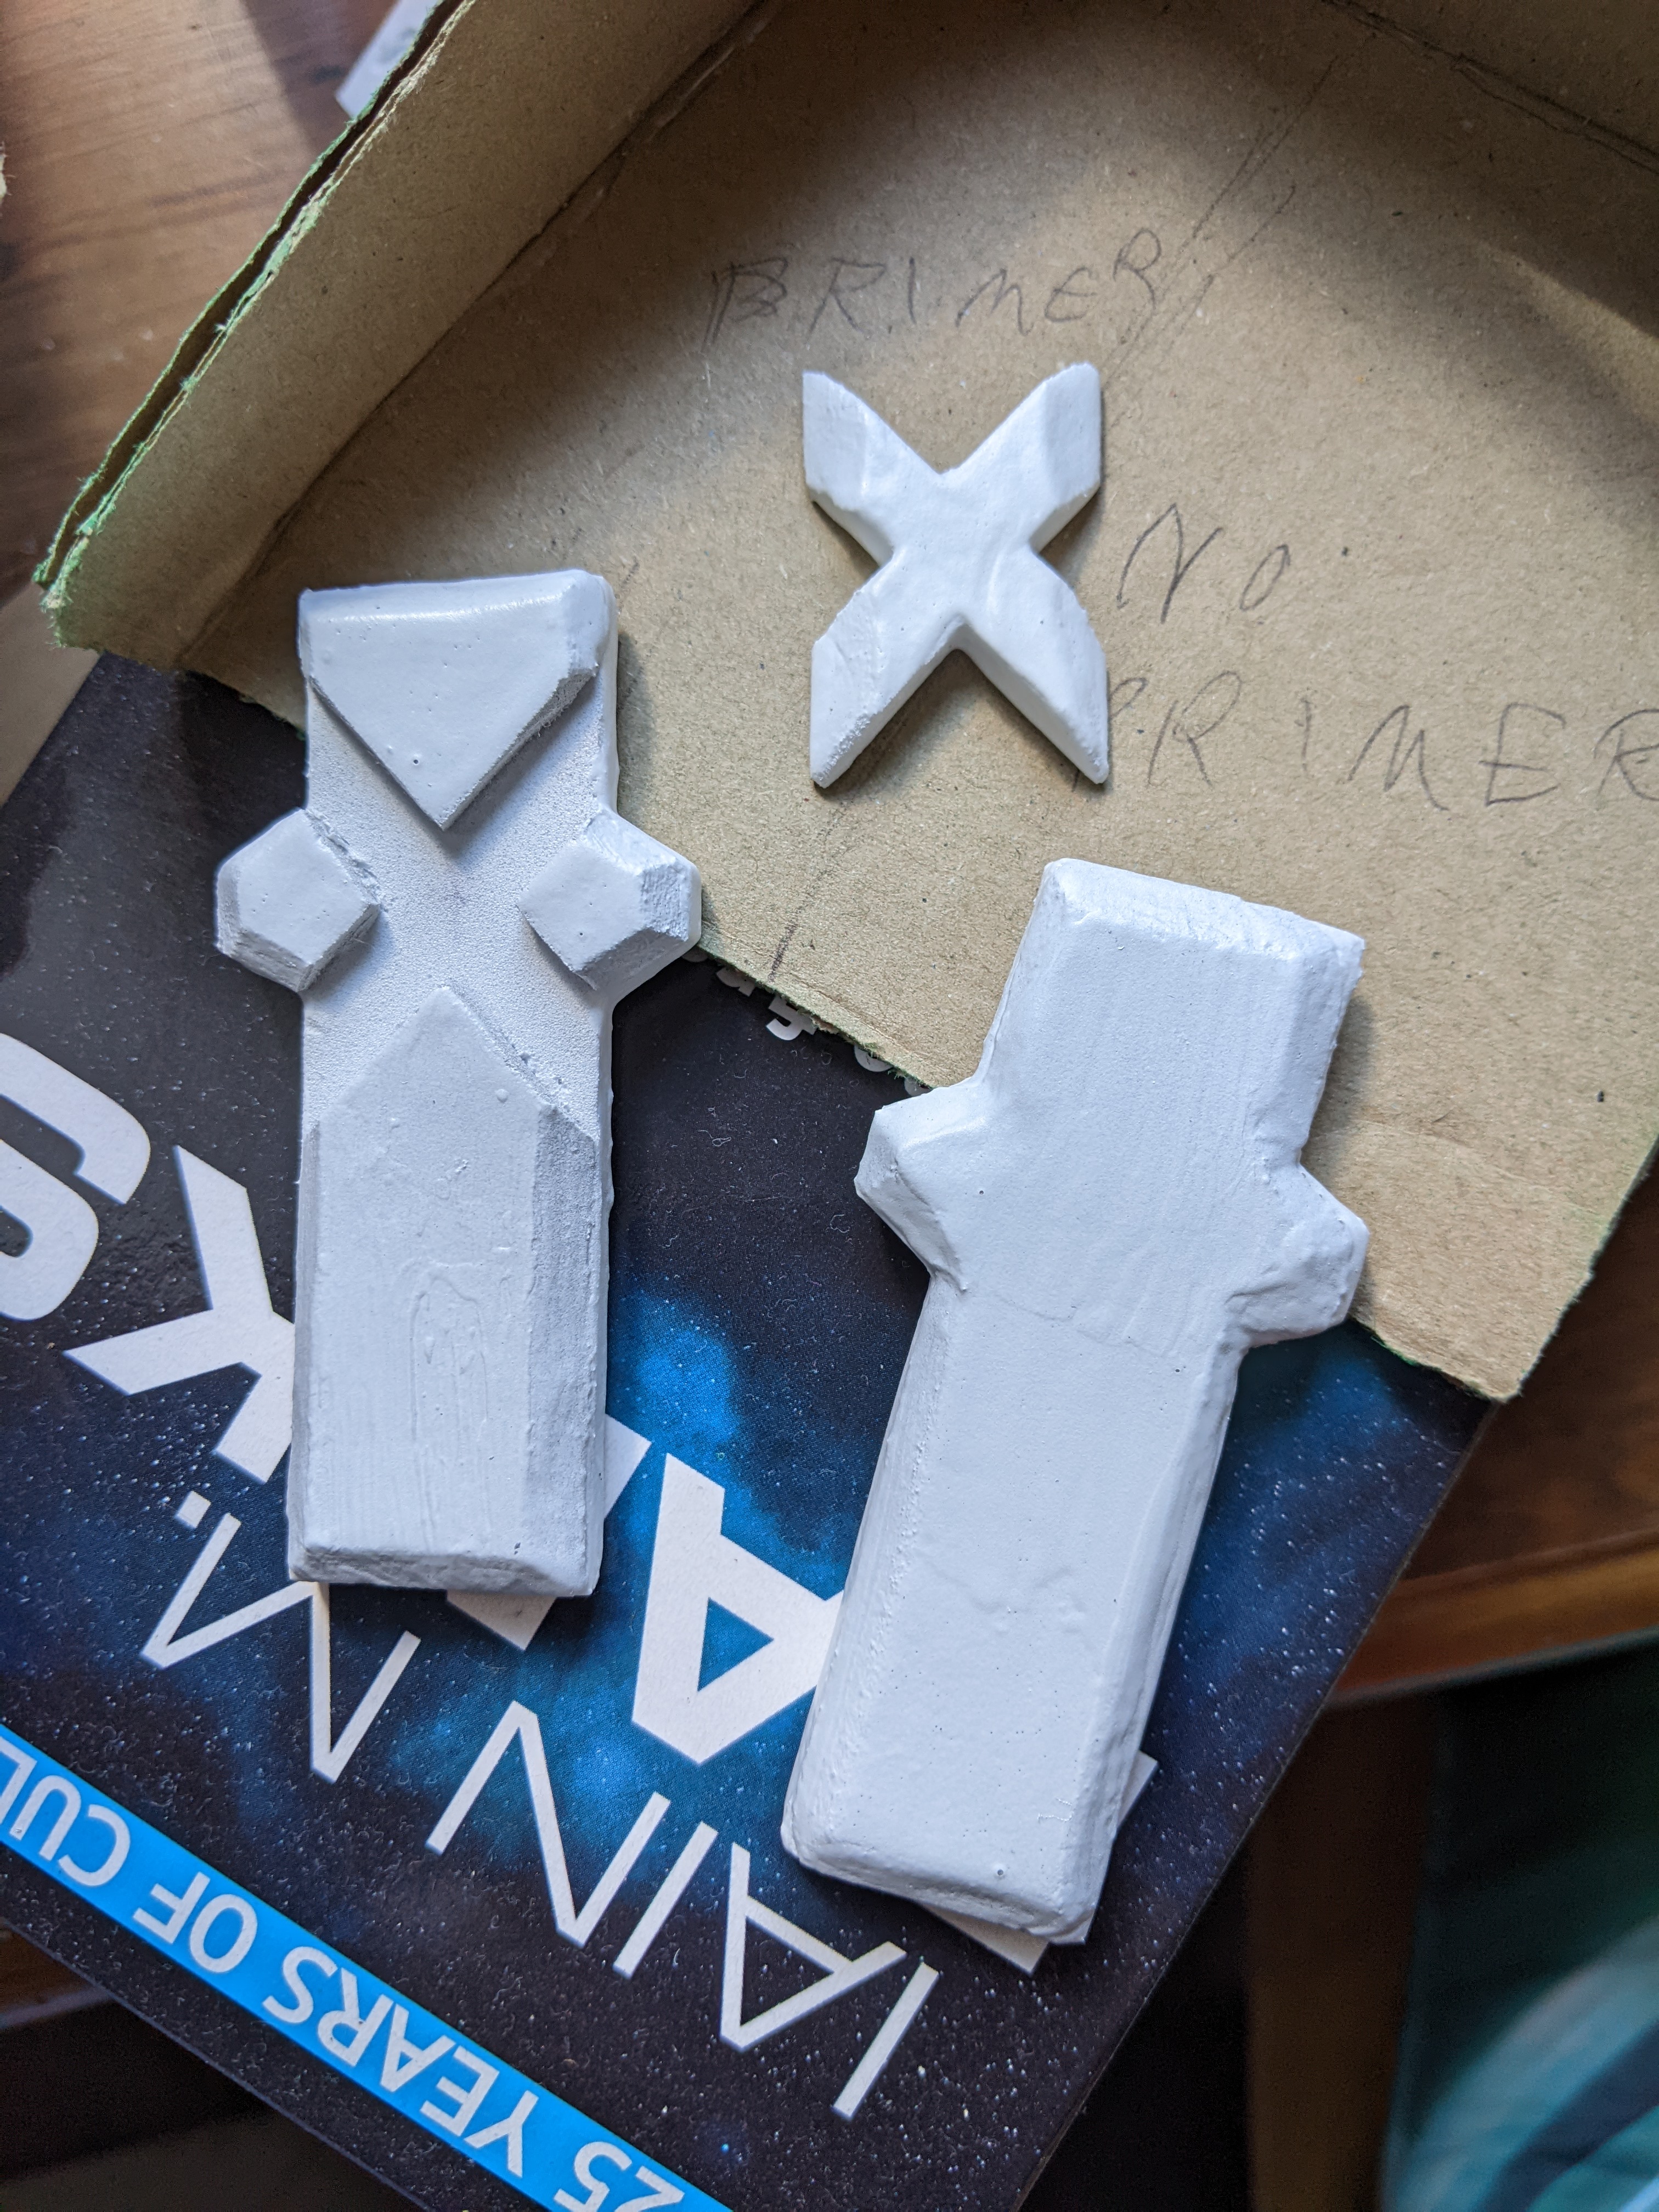
the foam props were given thin layers of mod podge to fill any gaps and smoothen the edges between foam sheets.
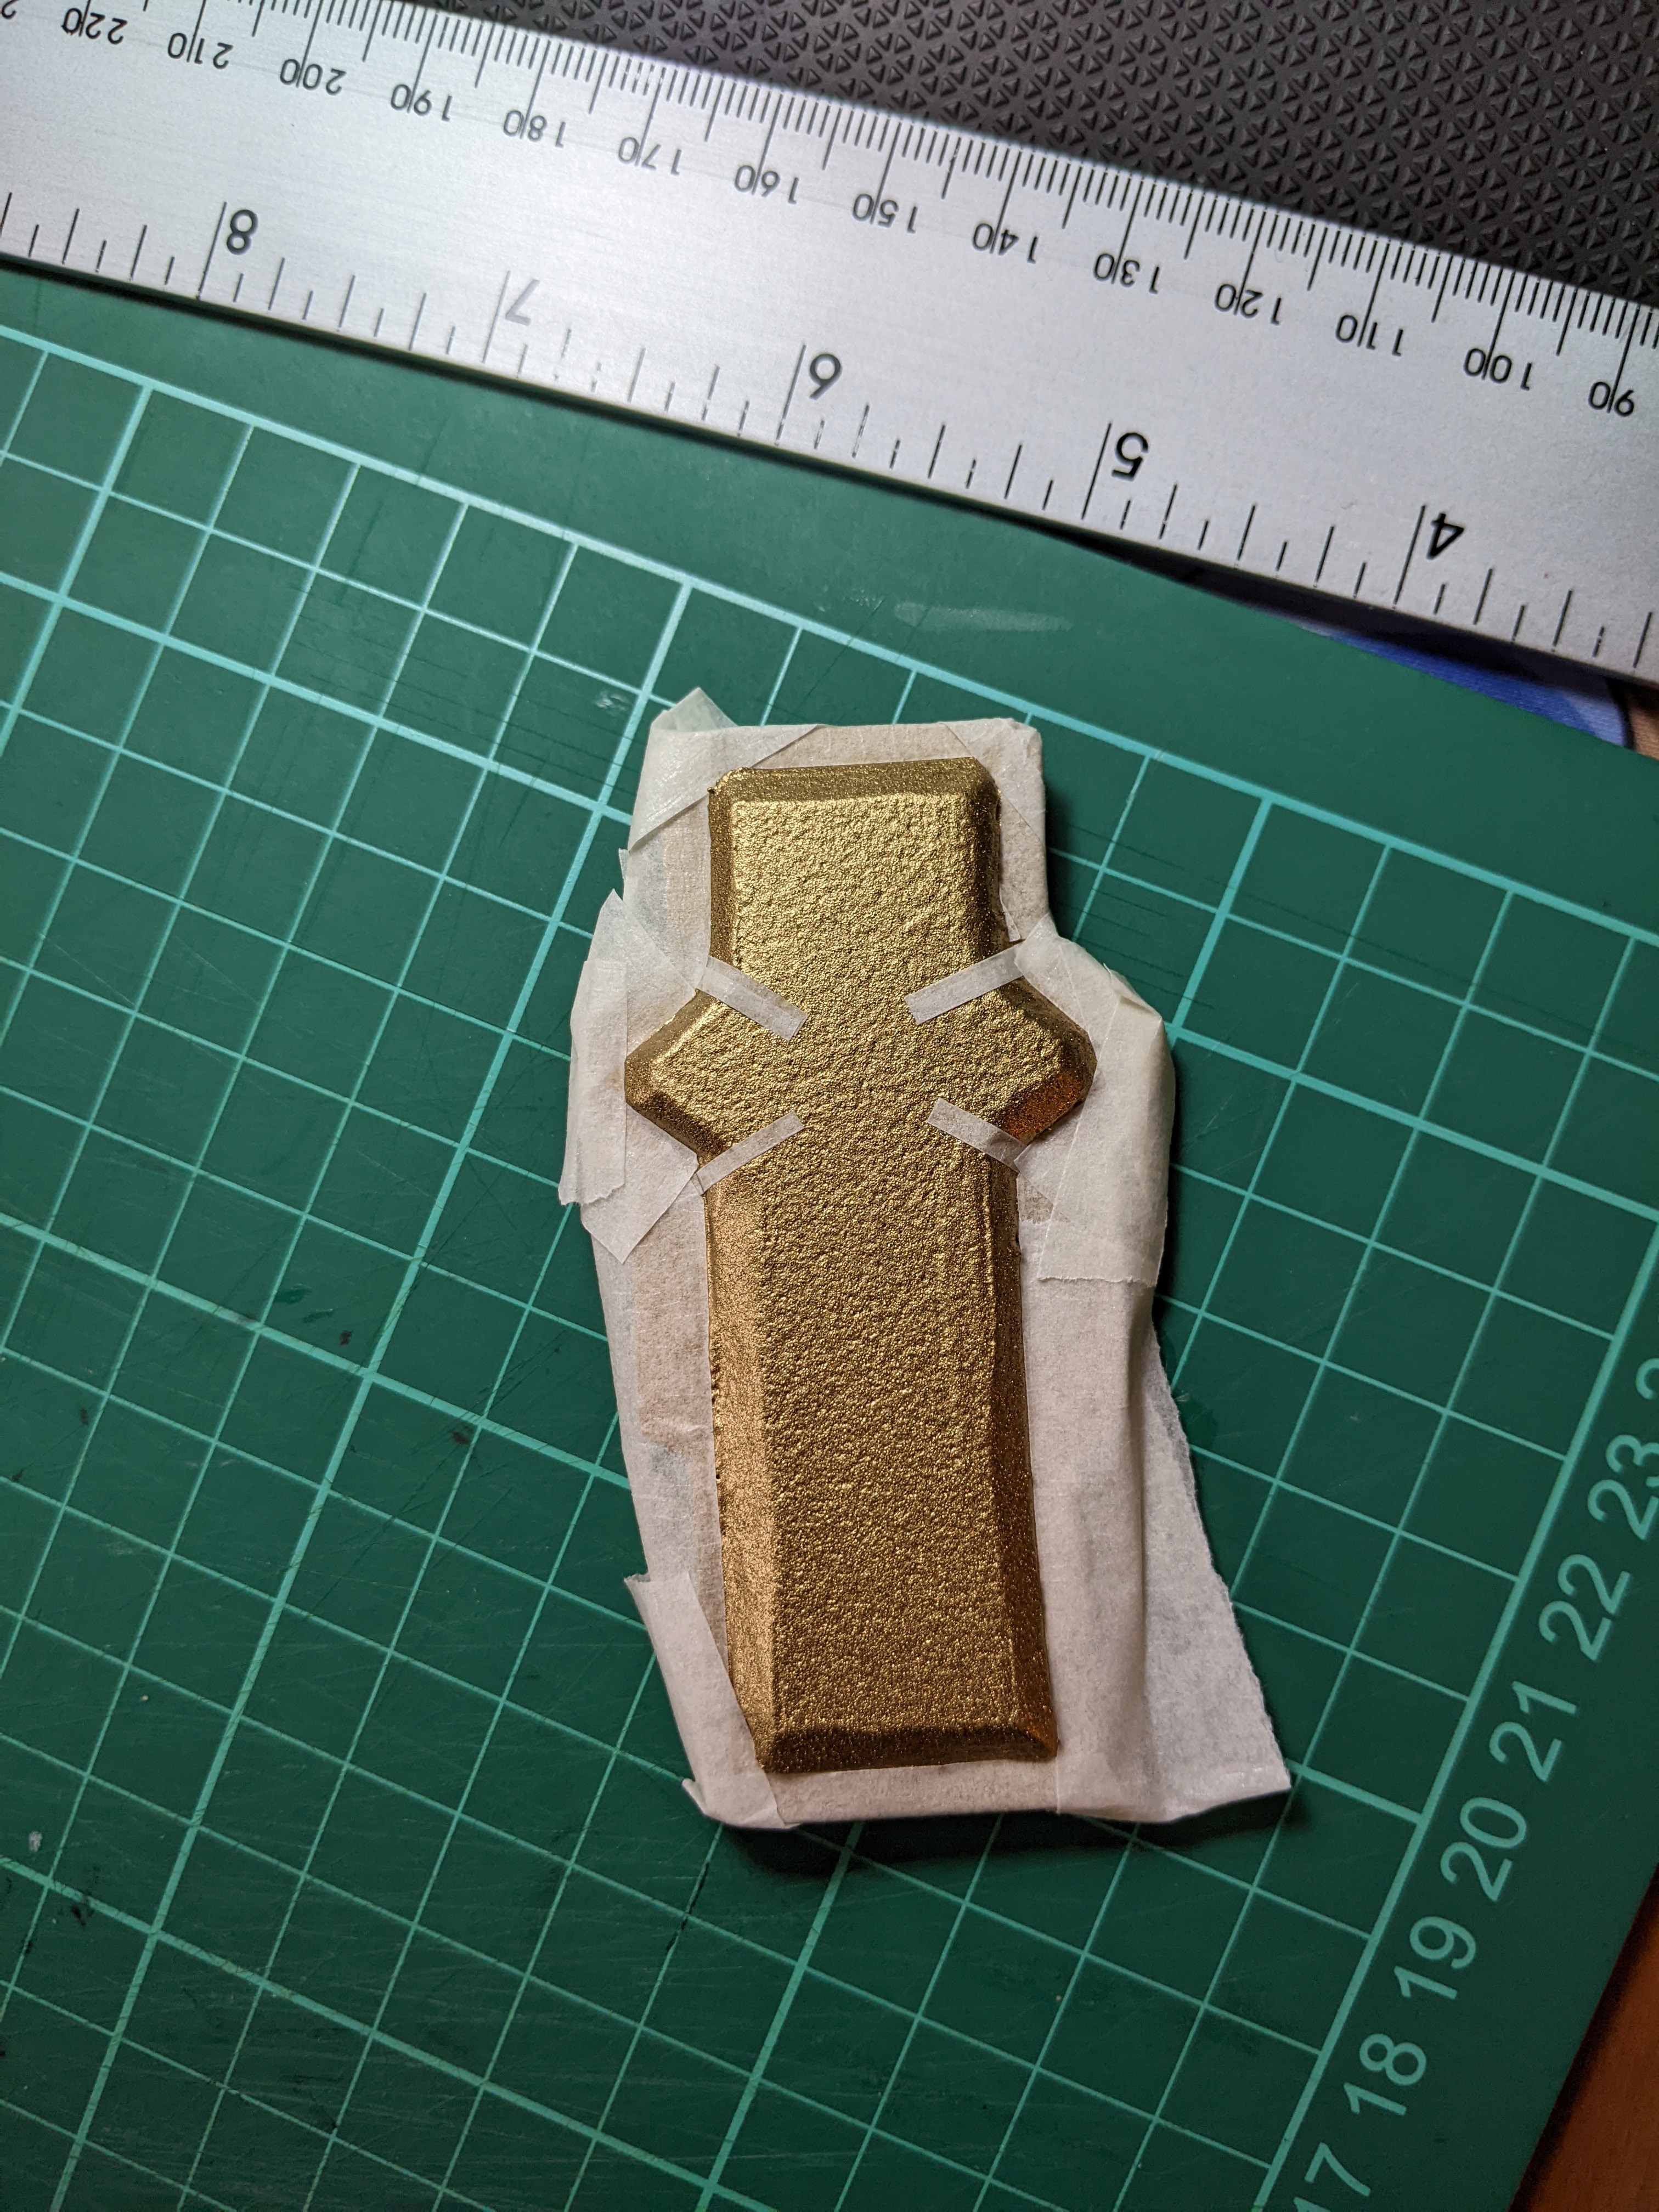
To prepare the crystals for painting, a plastic primer was sprayed over them so the colour spray paints would stick better onto the mod podge.
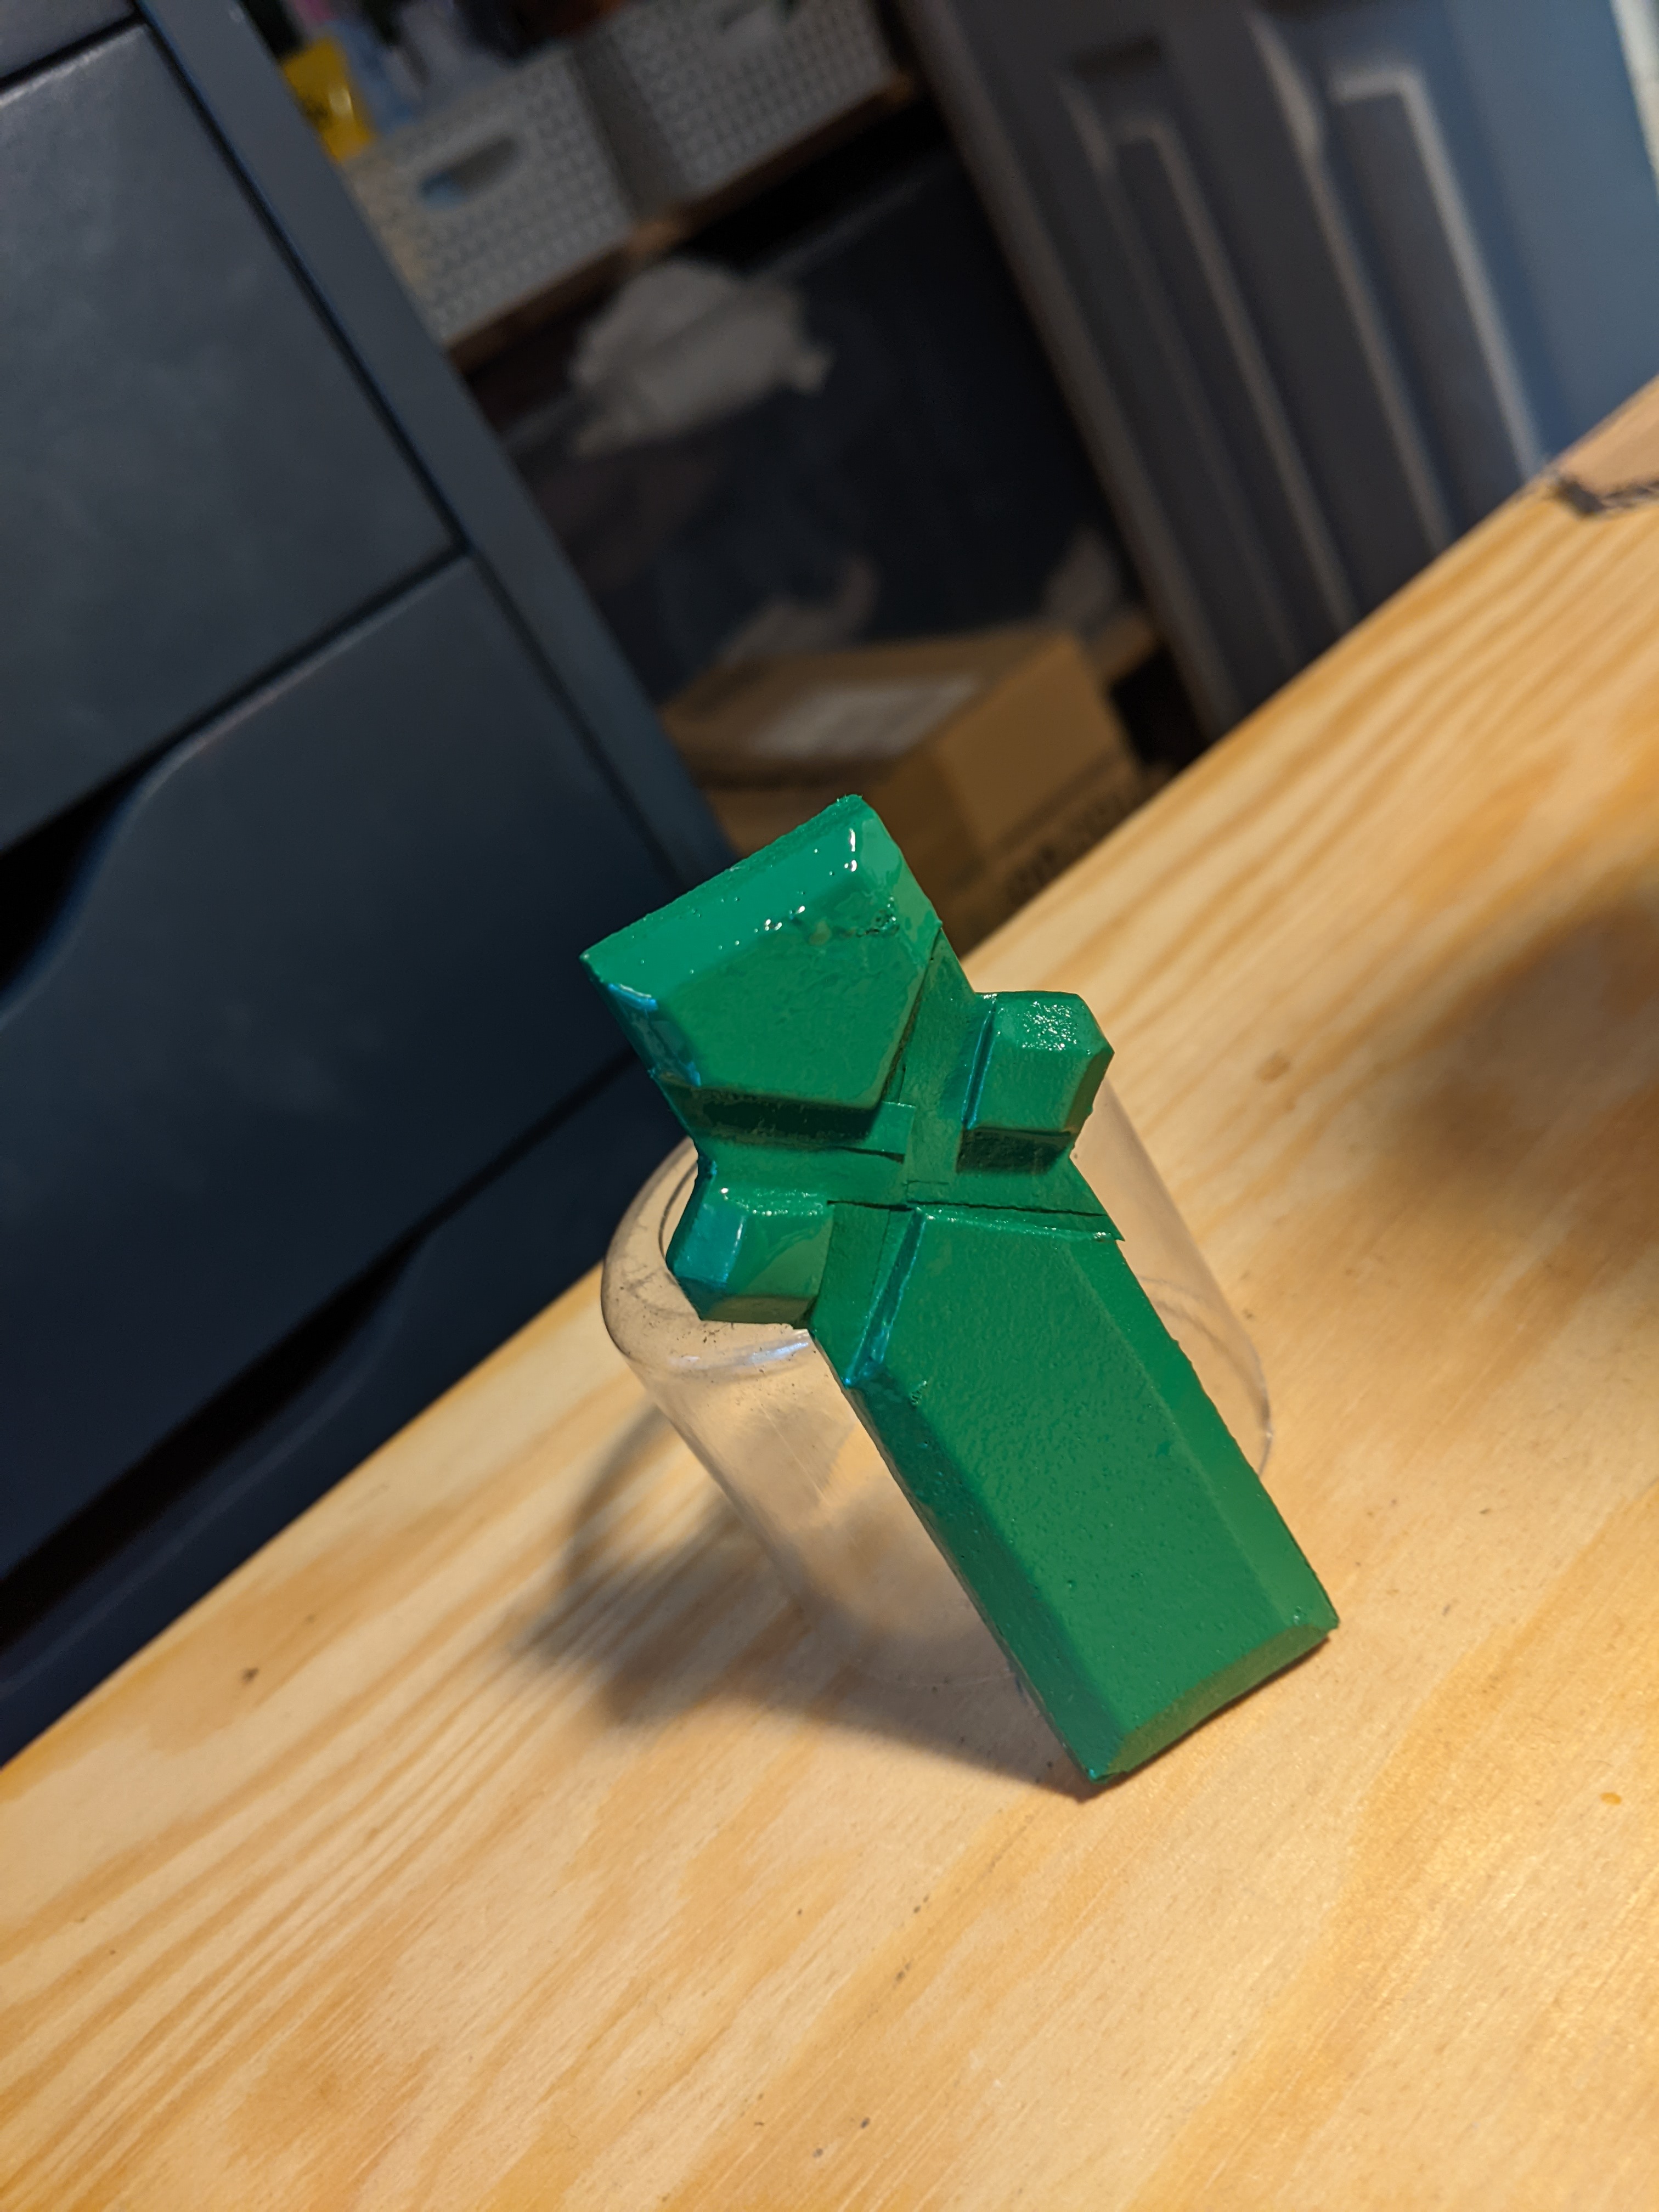
To then protect any colours that have been painted on, more thin coats of mod podge was spplied over them, since it can work as a sealer of sorts.
One downside is that it resulted in some streaks being left on, but this can me mitigated wither with different brushes, watering down the
mod podge, or even using a different top coat sealer altogether, as was decided for later iterations.

These prototypes showed that crystal props like these are easy to make and iterate on, being able to be made from start to finish within a few days,
allowing for time for coats to dry and assuming good conditions for spray painting. While making these, a few things were identified as needing
changed, such as a different top coat material, and using a proper stencil/template pattern for more consistent/symmetrical results.
A Better Process

The next step was to design stencils using in-game models and references. Screenshots were measured against my resin version in Clip Studio Paint,
and a few different sizes drawn out and cut out on template sheets. The final dimensions are seen in the image to the left, along with measurements
for an in-game variant, so anyone can use the same measurements I found to have best-looking results.
For making the new crystals, the template stencils were taped onto the EVA foam with double-sided tape, then were cut around with a craft knife. This
is one reason to use plastic over paper, as you can measure or cut around them without destroying them, and maintains reusability. Foam layers
were similarly to before were superglues together, except now only gaps between layers or from the bevelling were filled with pod podge, rather
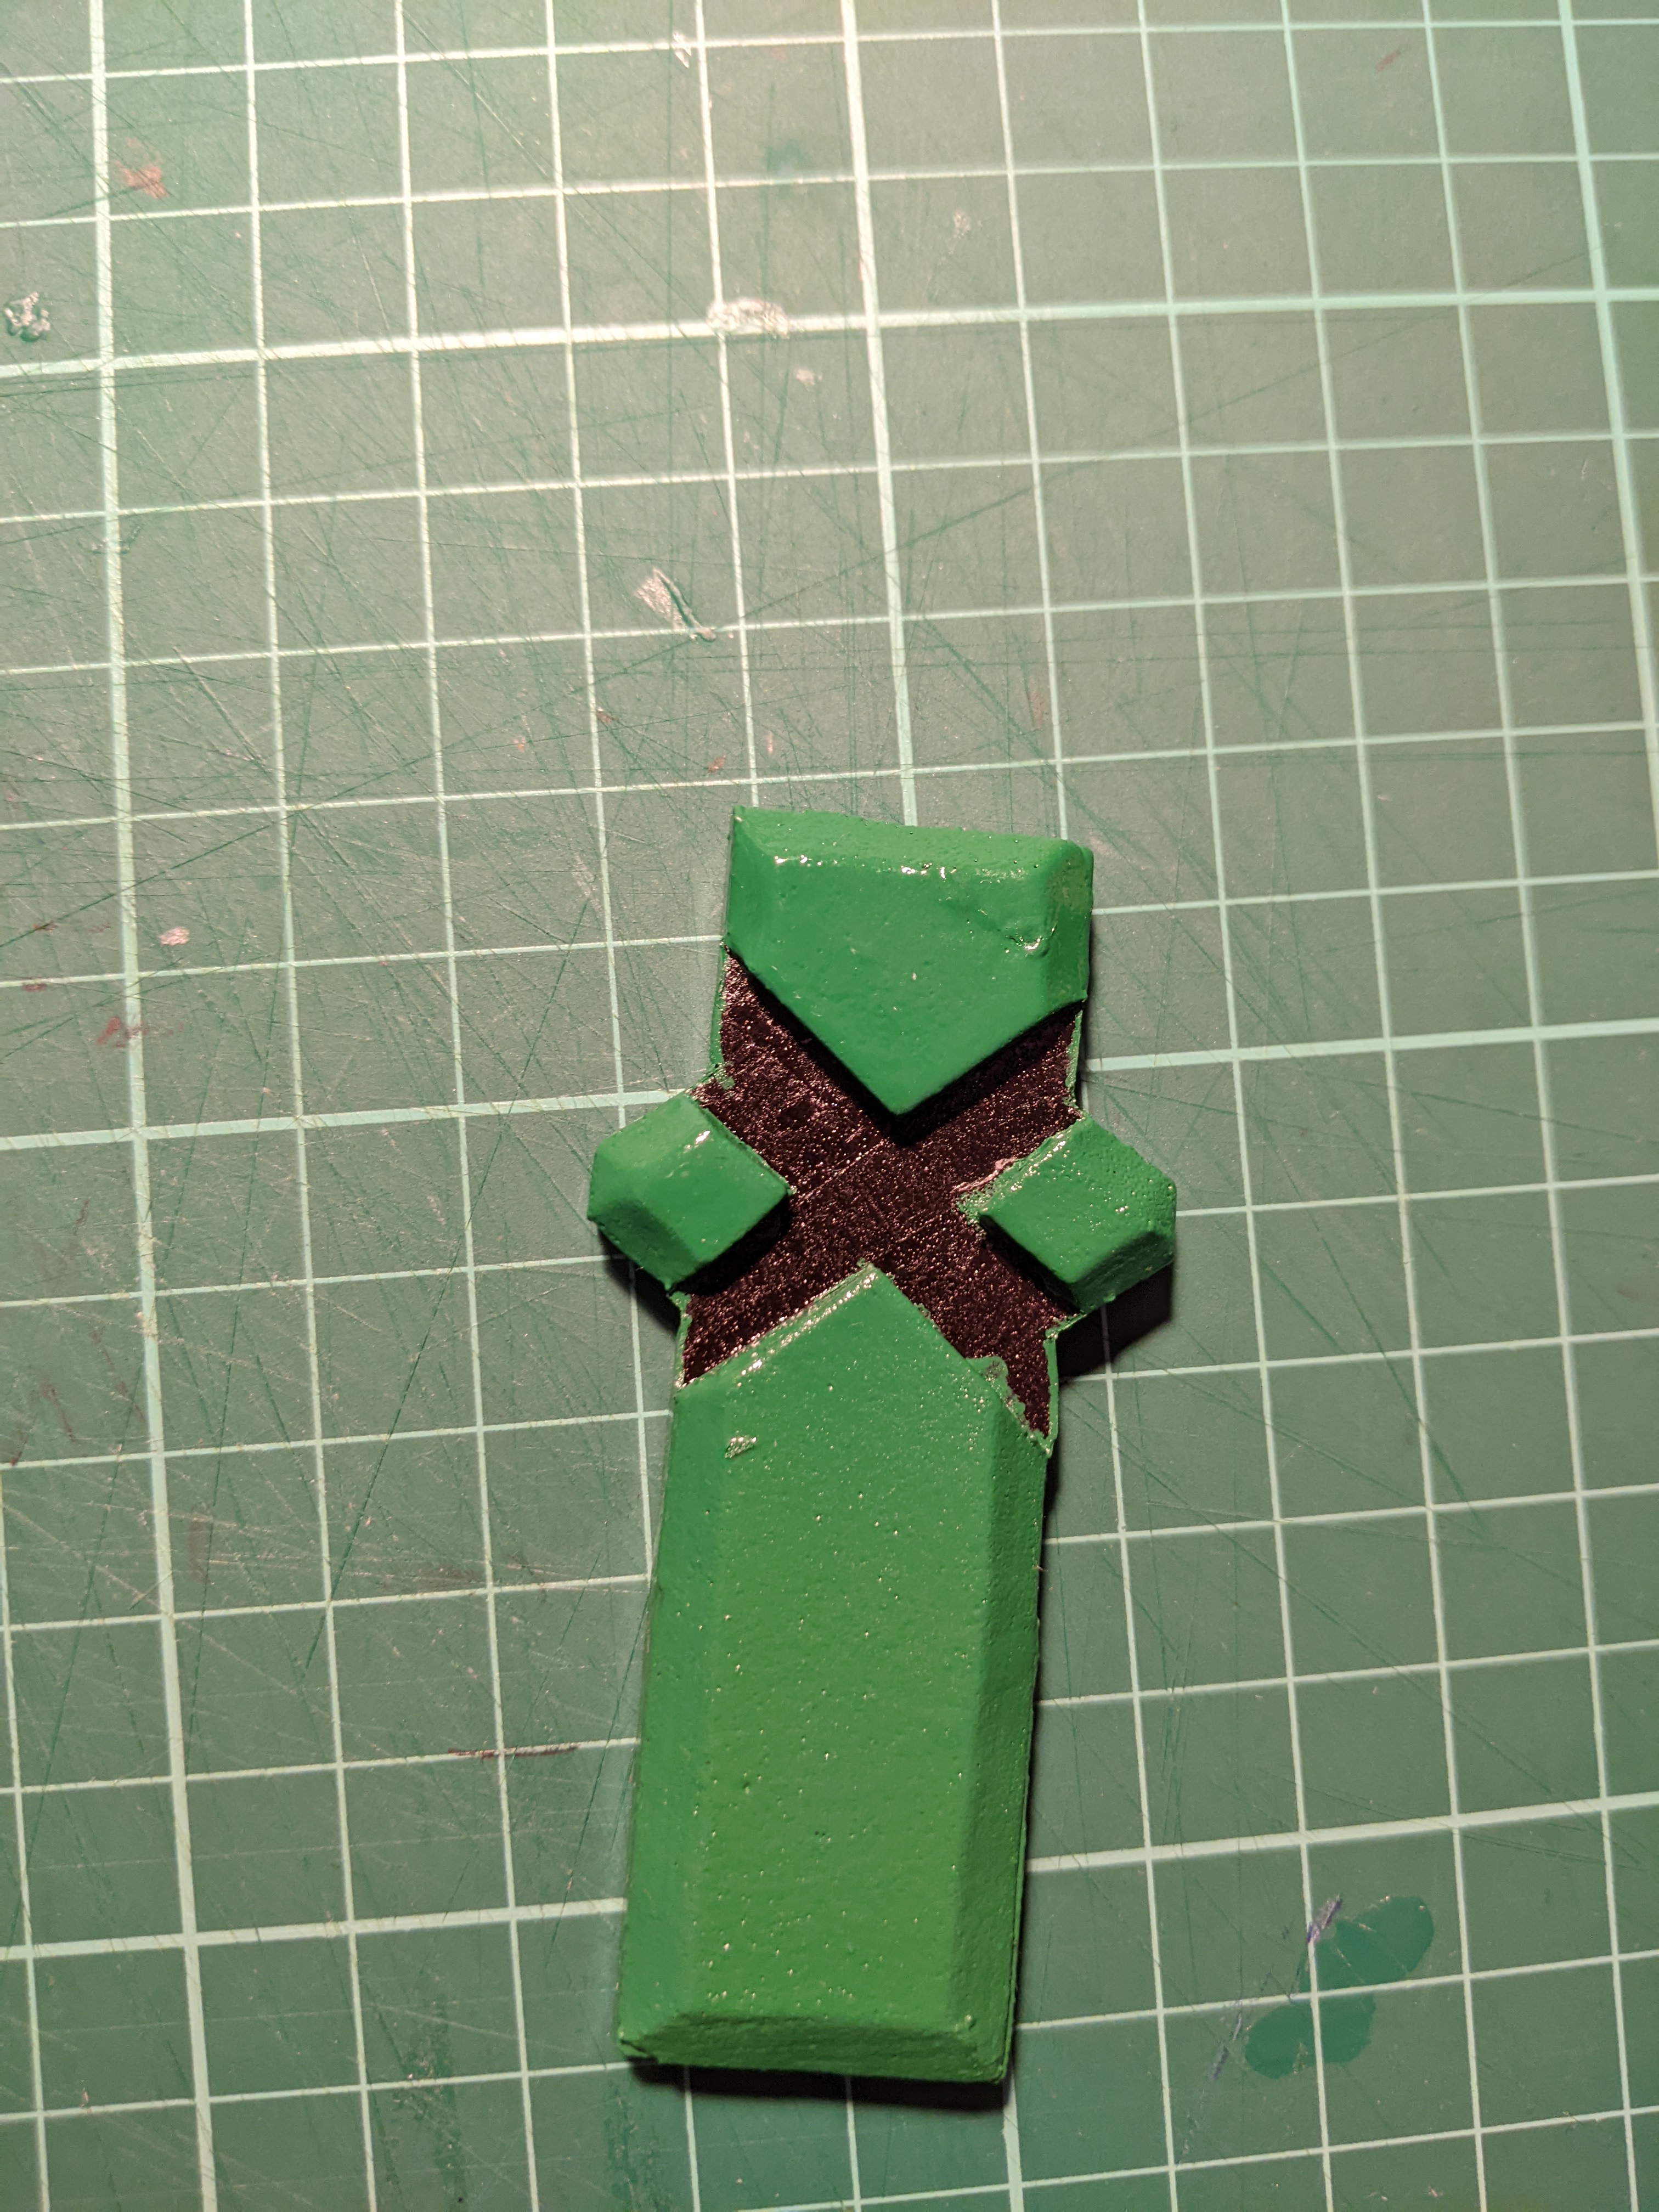
than covering the whole prop. To fit the role of foam sealer and paint primer, Plastidip was sprayed on in several moderate coats, which
adds a layer of rubberised plastic around the foam. Ideally it would be heat-sealed prior to spraying, but I didn't have a heat gun at
the time, but will be used in later iterations. Since Plastidip acts as a primer as well, colour spray paint can be directly applied, but is
worth noting that Plastidip typically comes in black, while plastic spray paint primer is normally white, so depending on the desired
outcomes, one may want to add a base coat of white, silver, etc.

A further change was using a new top coat, in particular a spray that would mitigate brush streaks. This time I tried out an automotive clear lacquer, which is highly-recommended within the cosplay propmaking community. Its scratch resistance works well in acting as a protective top coat, and unlike a different top coat spray I tried a couple years back, several coats of it didn't tint the prop yellow or any other colour.
